
DIY Duck Diapers: Keeping Your Duck Comfortable and Your House Clean
Last updated: April 23rd, 2026
To keep our research-backed guides free, this site uses ads and affiliate links (earning a small commission at no cost to you). Everything here is created by a duck mom and PhD scientist, combining academic rigor with hands-on experience to provide practical, trustworthy advice for duck keepers everywhere. 🦆 Learn more
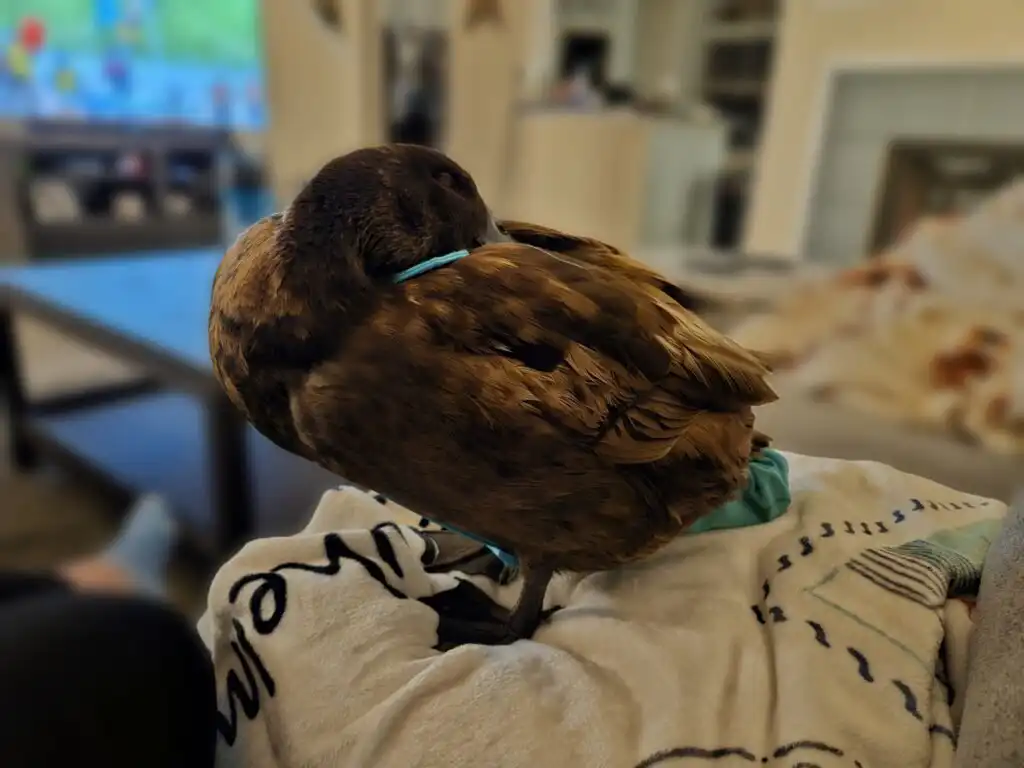
Ducks can be wonderful companions, and many of us enjoy spending time with them beyond the backyard. However, one challenge quickly becomes clear: ducks do not have control over when they poop. If you plan to bring your duck indoors, even for short periods, managing that reality is essential.
A well-fitted duck diaper can make supervised indoor time more practical and enjoyable while helping protect your home. That said, diapers should always be used thoughtfully. Ducks still need regular access to water, opportunities to preen, and time outside where they can move naturally.
Making your own DIY duck diaper is a simple and customizable solution. It allows you to adjust fit, materials, and comfort to suit your duck while avoiding some of the limitations of store-bought options.
In this guide, I will walk you through how to create a safe and functional duck diaper, along with important tips to ensure your duck stays comfortable and healthy while wearing it.
Part of the Housing & Environment Hub, Engineering safe, bio-appropriate habitats for backyard flocks.
Quick Navigation: Jump to a Section
[hide]
Why Duck Diapers?
Duck diapers are a practical way to keep your living space clean while allowing your ducks to roam freely inside. It’s a win-win situation for both you and your quacking buddies.
Duck diapers go beyond just keeping your space clean – they serve multiple purposes in enhancing your duck-keeping experience. Beyond mess control, these handy accessories allow for indoor bonding time, stress-free travels, health monitoring through closer observation of droppings, extra care for elderly or injured ducks, and even protection for furniture when ducks are on the loose. With the added option of fashionable designs, duck diapers become a versatile and practical accessory, elevating your duck parenting adventure.
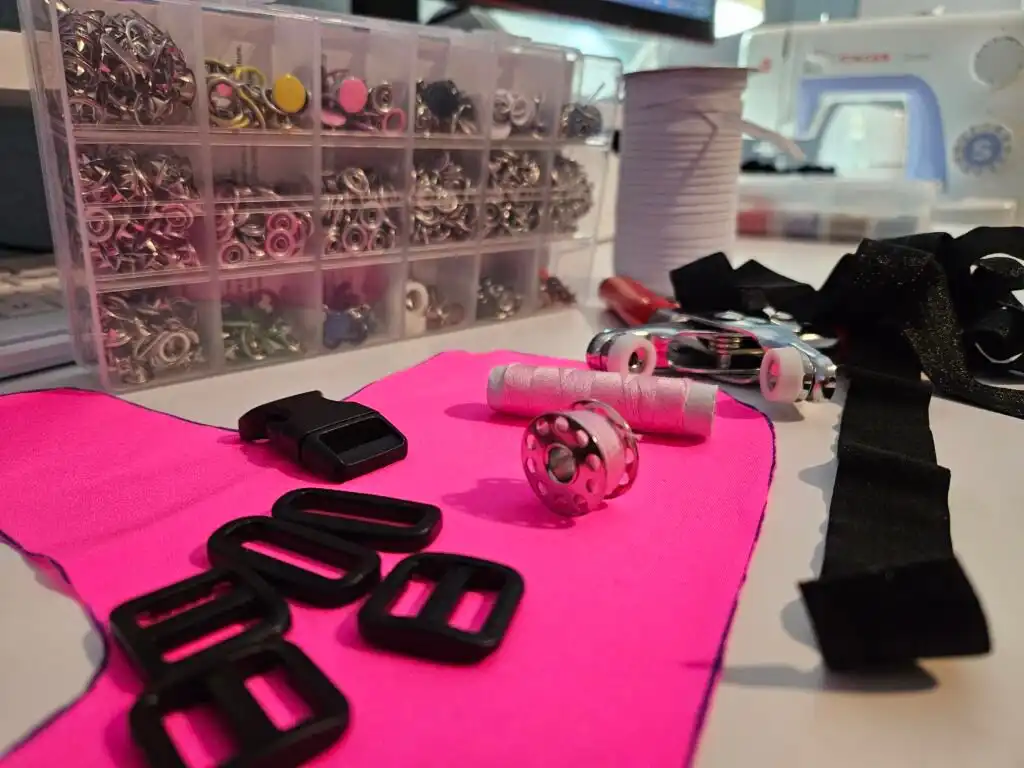
Materials You’ll Need
Gathering the right materials is the first step in creating your DIY duck diaper. Here’s what you’ll need:
- Fabric: Choose a soft, stretchable, and waterproof material. We prefer 4 Way Stretch Fabric for Active Wear, also used for swimwear.
- Elastic Bands: These will help secure the diaper comfortably around their bootie.
- Paracord Buckles: To ensure easy and secure fastening.
- Snap Buttons: To easily open and close the tail portion of the diaper.
- Triglides Buckles: For easy size adjustments.
- Loops: This makes it more accessible to combine individual parts of the diaper.
- Scissors and Sewing Machine: Basic tools for cutting and sewing your fabric.
We have compiled all the items we used for our diaper in a convenient shopping list for you. Click the link below to access it:
Steps to Create Your Duck Diaper
Step 1: Measure Your Duck
Before diving into the DIY project, measure your duck’s waist and length. This ensures a snug fit without causing any discomfort.
Step 2: Make a Pattern
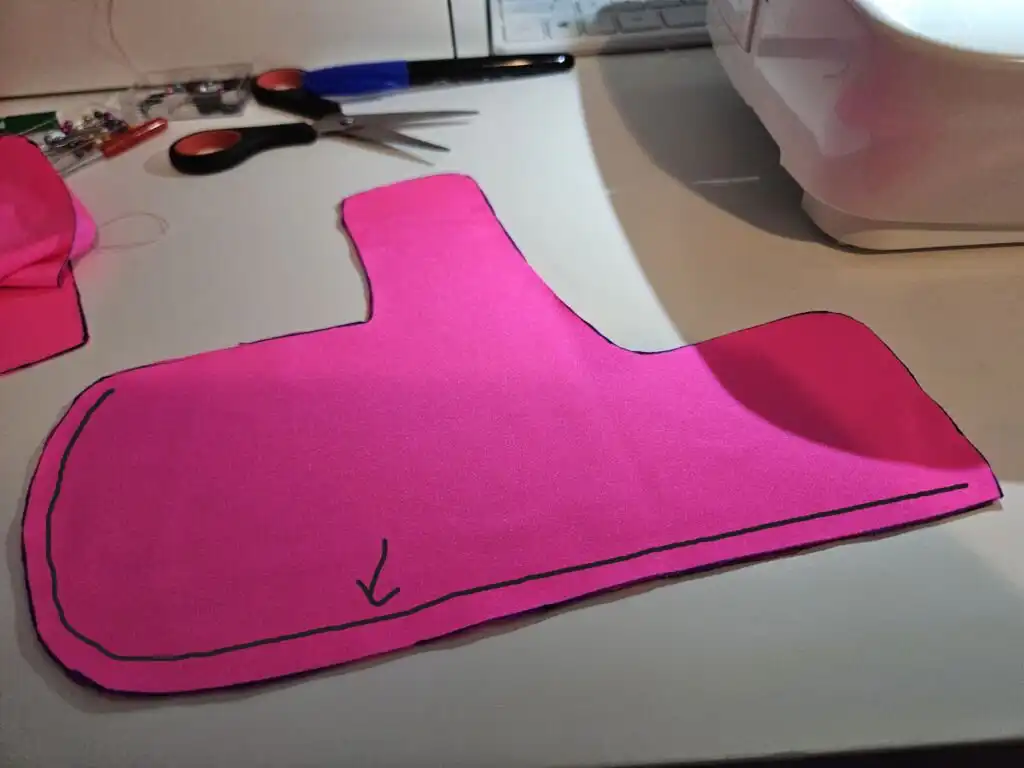
Create a simple pattern based on the measurements, keeping in mind the comfort and movement of your duck. For our design, we have three patterns that we need. The first (Part A) is for the diaper’s main part, which goes around your duck’s tail. We also need the part (Part B) that goes around your duck’s head and along her belly to connect to the tail part. The third one (Part C) is to connect the head loop with the tail through the back of your duck.
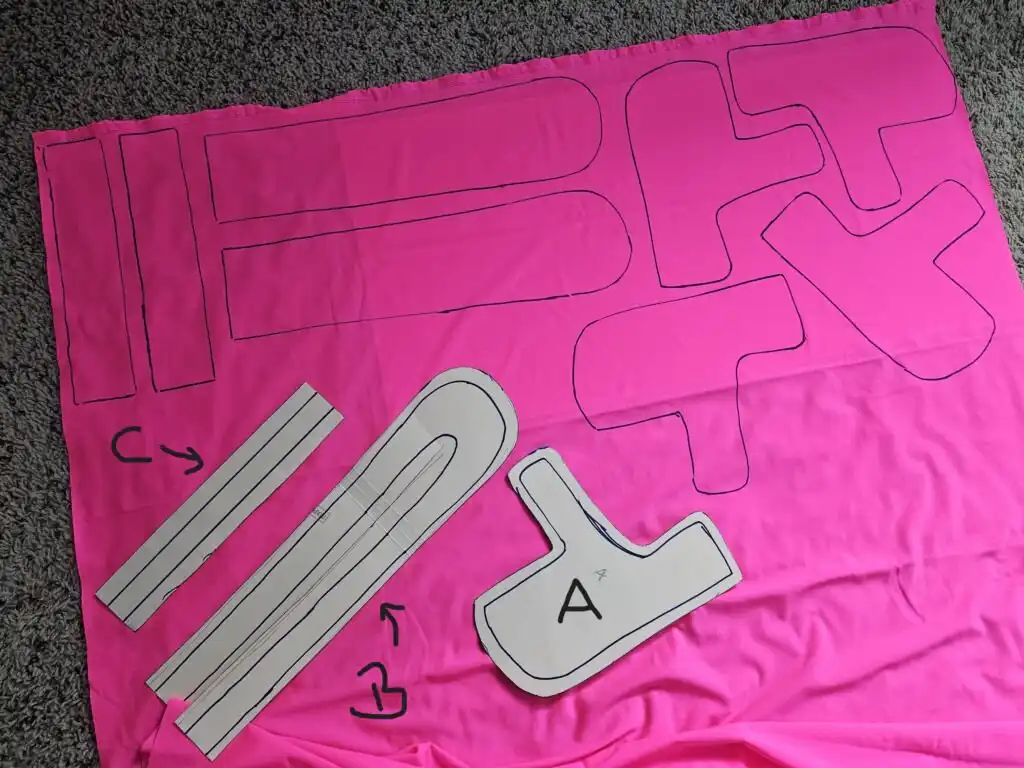
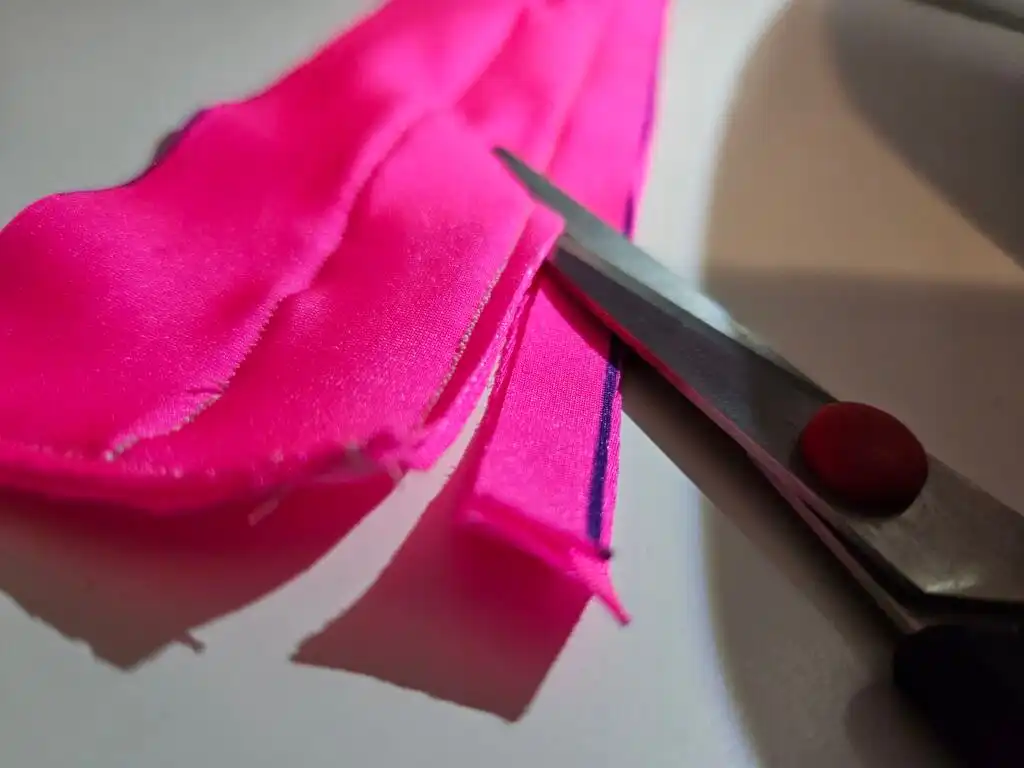
Don’t forget to add allowance around the edges for the sewing process. I like to leave about 3/8 inch. The allowance is part of my patterns, the blue lie indicates the size of the final parts.
Step 3: Cut the Fabric
Cut the chosen fabric using the pattern into the pieces needed for the diaper.
We need to cut Part A four times. Make sure to cut it twice from one side of the fabric and twice from the other side so that you have mirroring pieces.
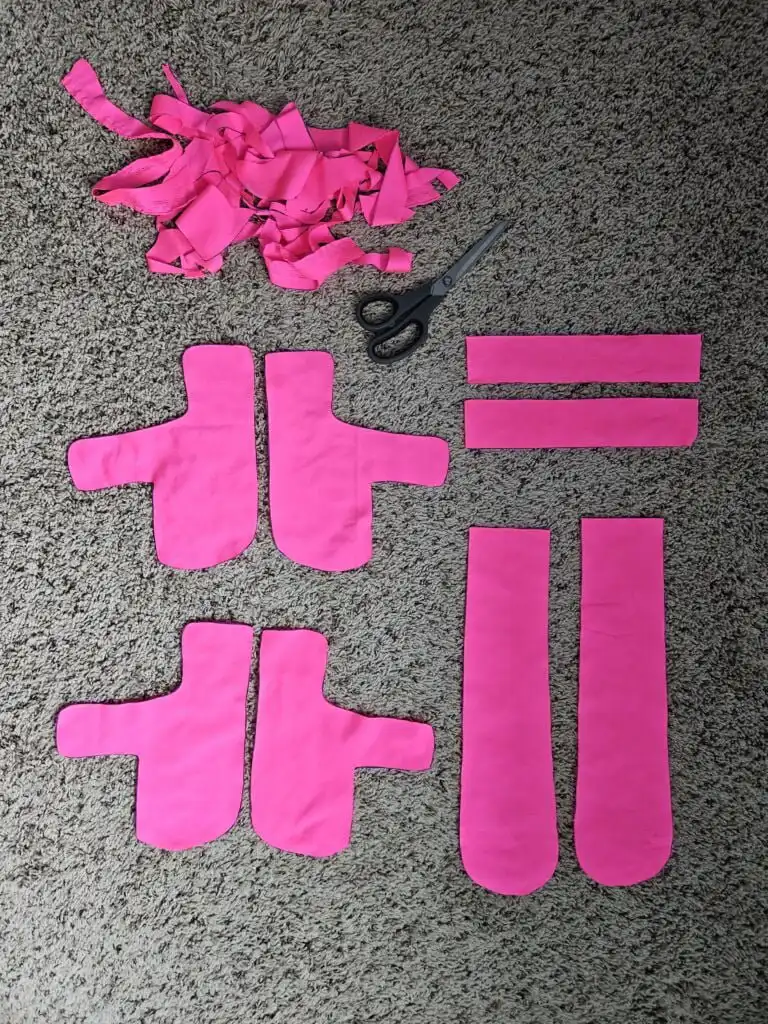
We need to cut Parts B and C, respectively.
Step 4. Stitch the Individual Parts
Now, let’s dive into the creative process of stitching the individual fabric pieces together, forming the heart of your duck diaper.
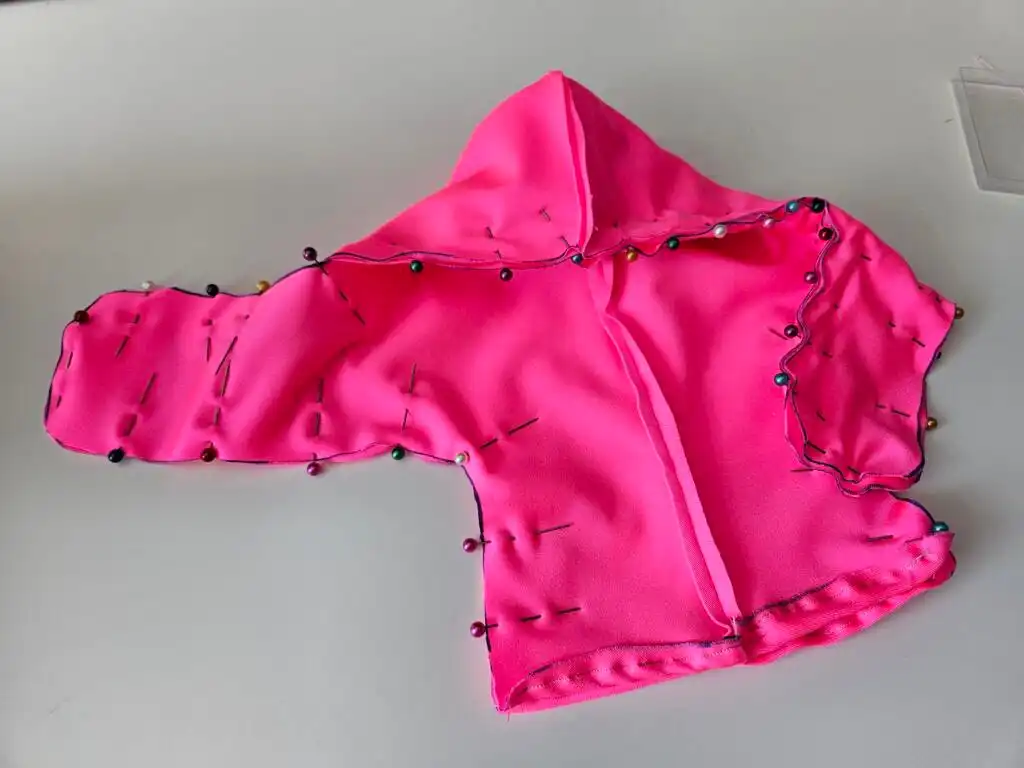
Begin by delicately sewing the individual sides for Parts B and C, ensuring the good sides of the fabric are nestled inside for a polished finish. Utilize pins to secure the parts in place, preventing any unexpected drifts during stitching.
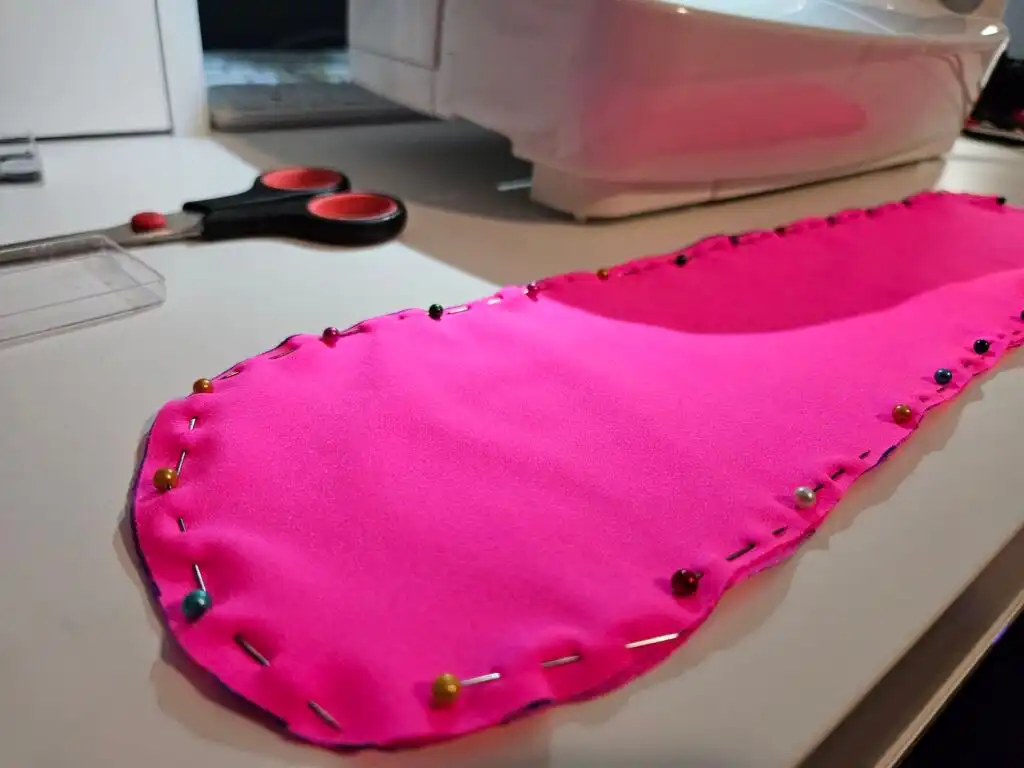
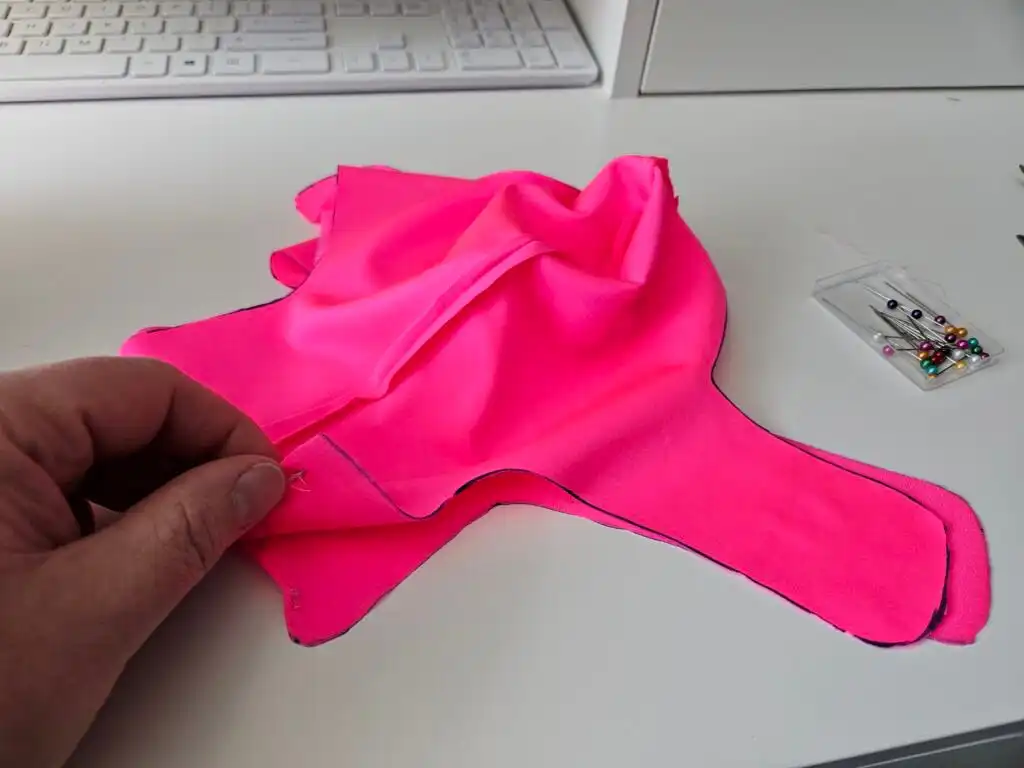
Take it slow and easy, leaving one short side open to turn the fabric inside out. You may cut off excessive allowances around all edges if you prefer.
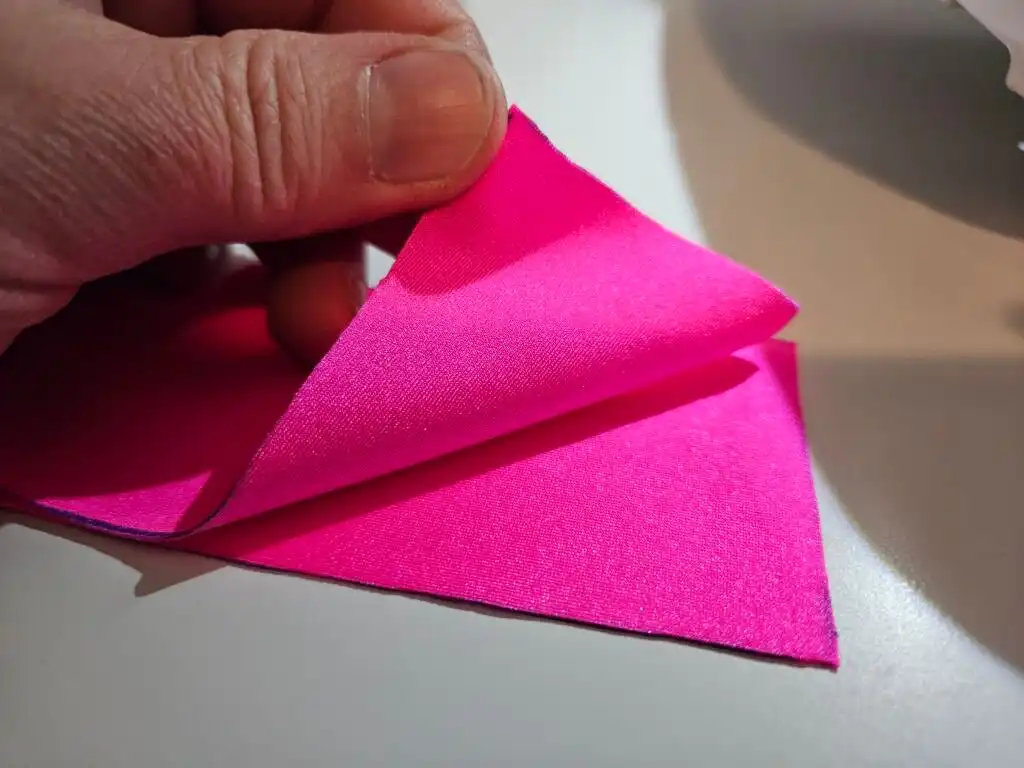
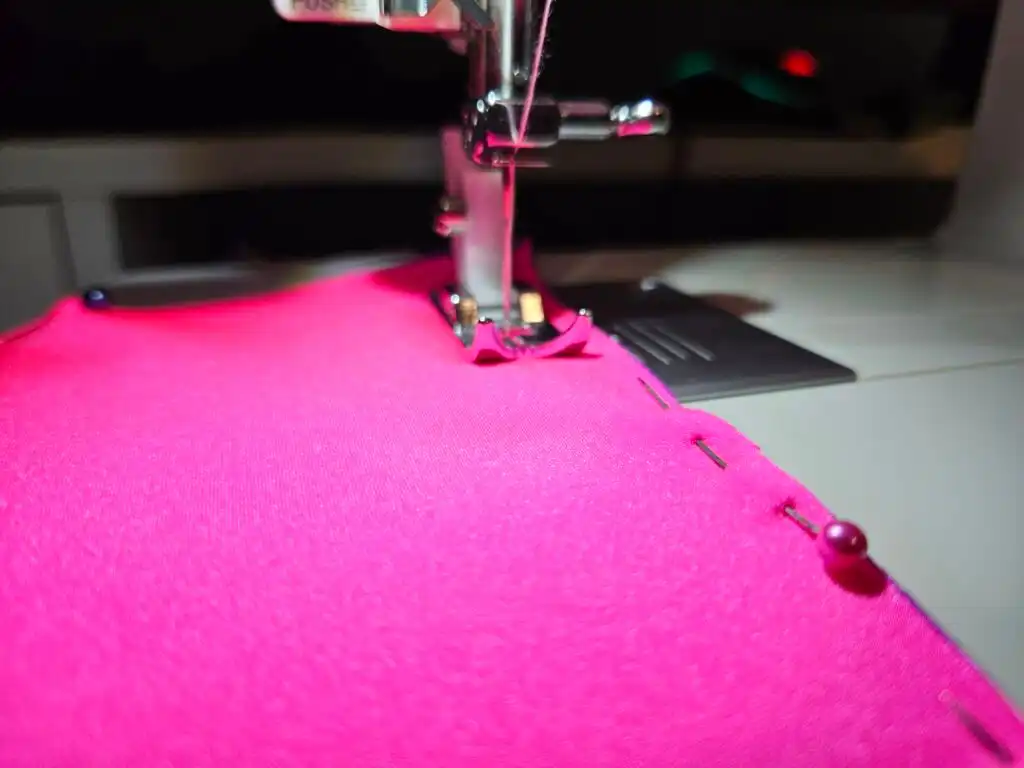
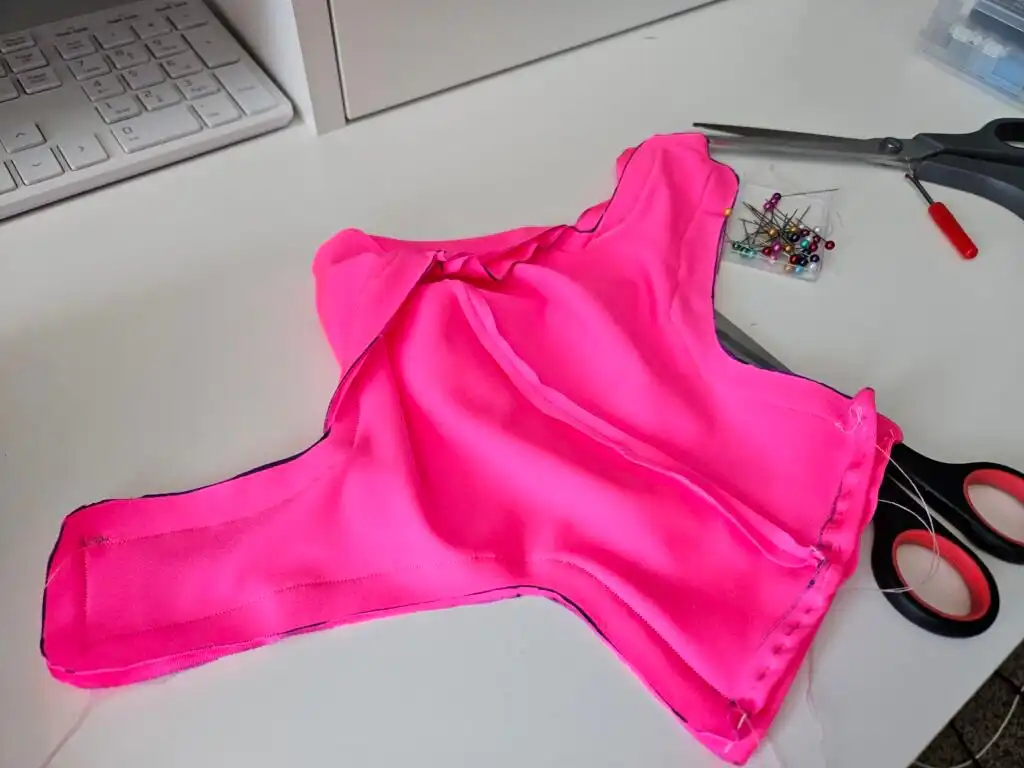
The tail part (Part A) adds a touch of intricacy to the process. Start by joining mirroring parts along the long line, repeating the process to create both the top and bottom sections.
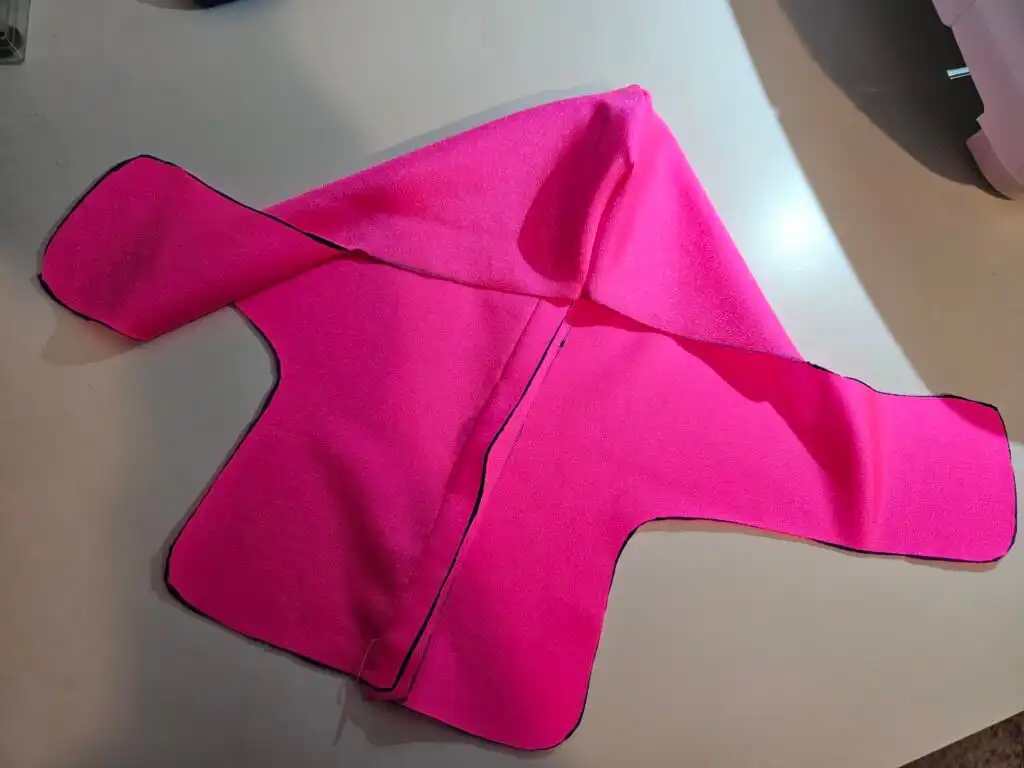
Now comes the magical combination – place these two parts on top of each other, stitching around the entire edge, leaving only the short end untouched for now.
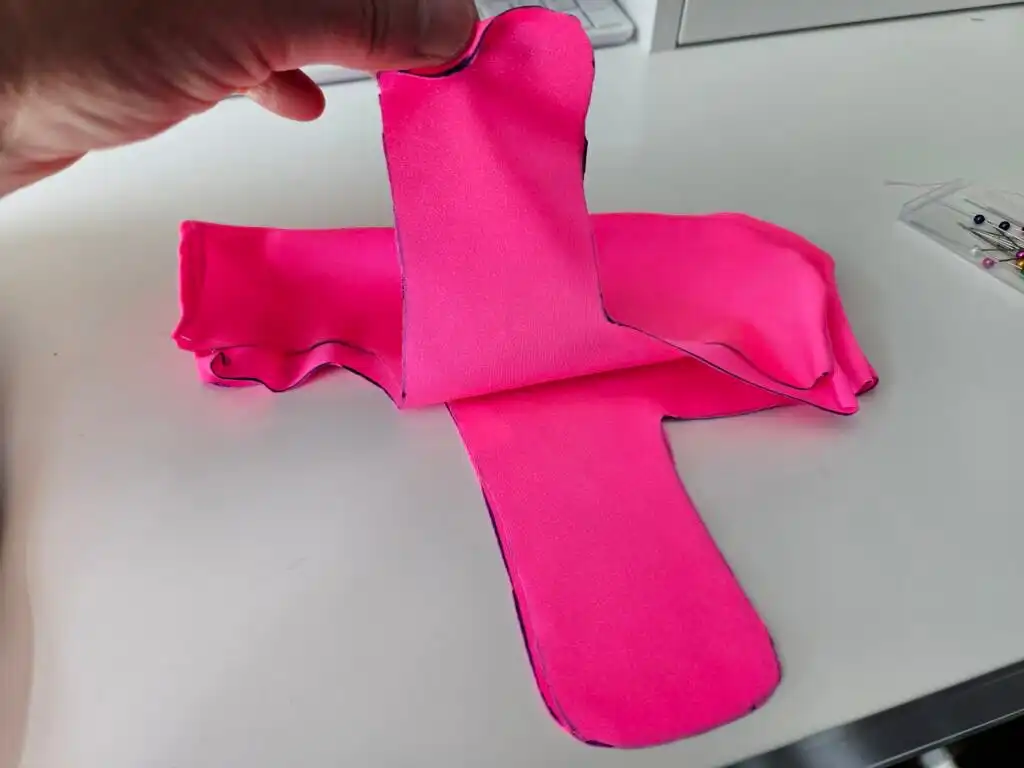
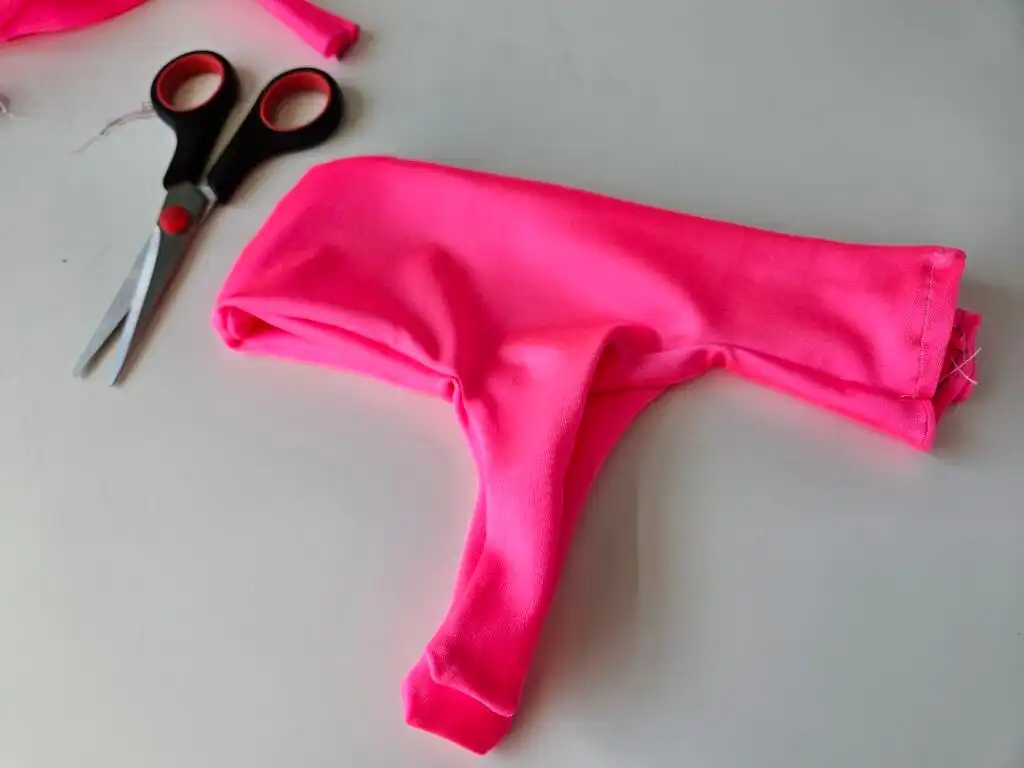
This meticulous stitching dance brings your duck diaper to life, ensuring functionality and aesthetic appeal.
Step 5: Add the Elastic Band
Now, let’s focus on the crucial step of incorporating the elastic band into Part A, ensuring a snug fit around your duck’s adorable bootie.
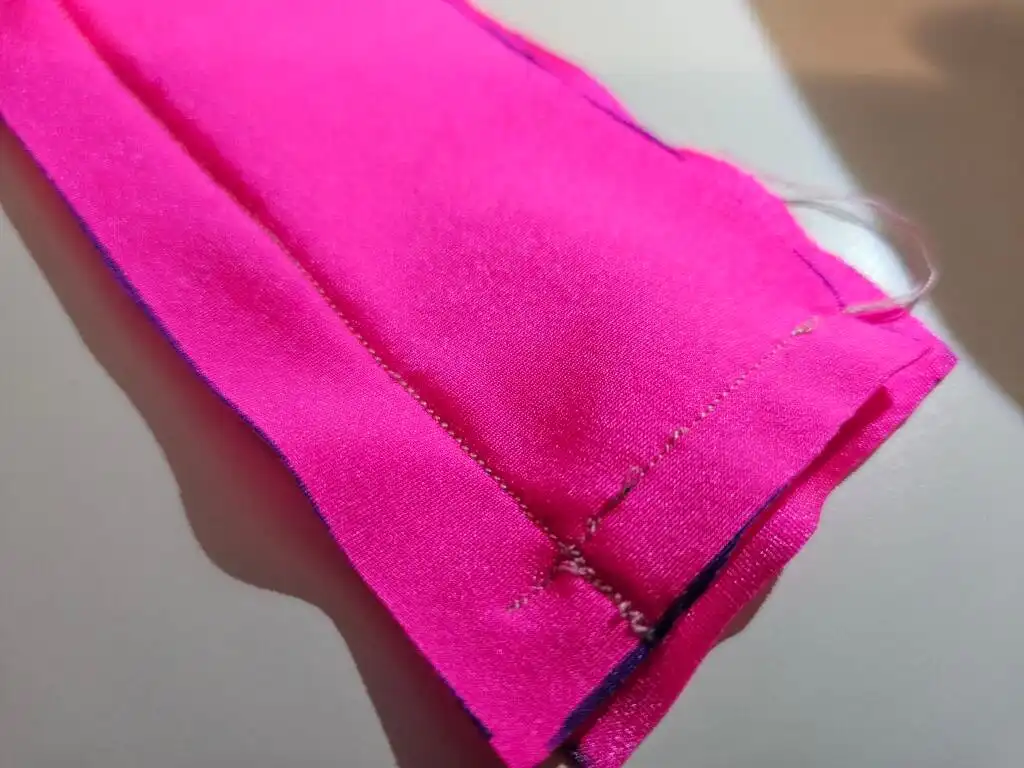
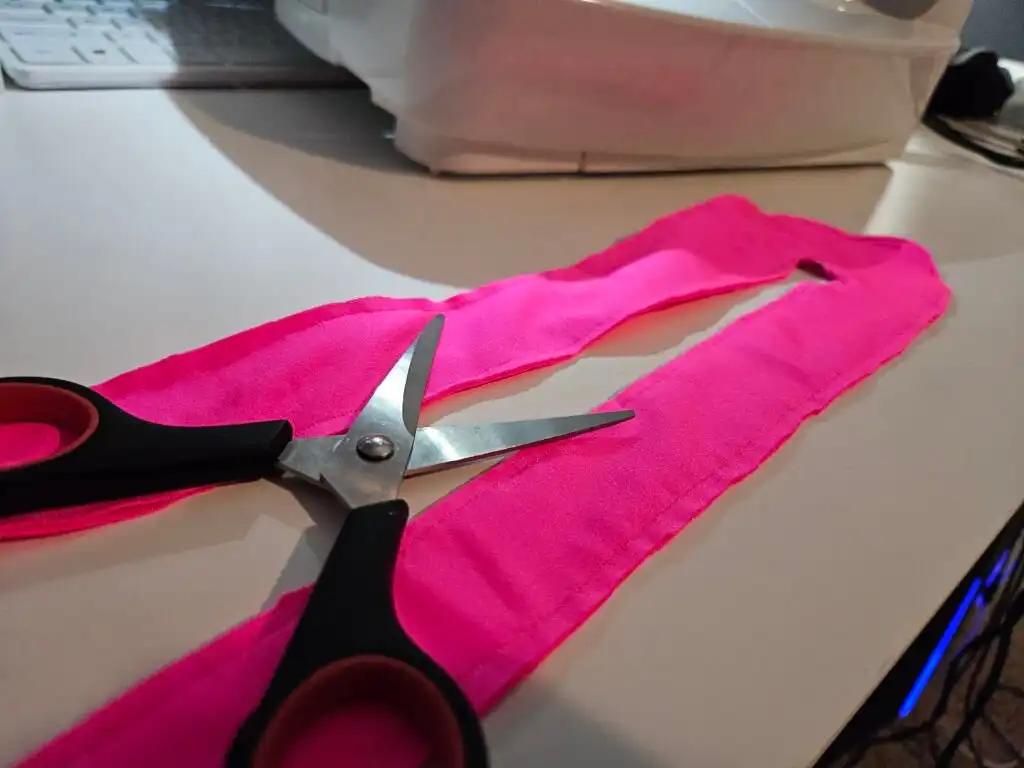
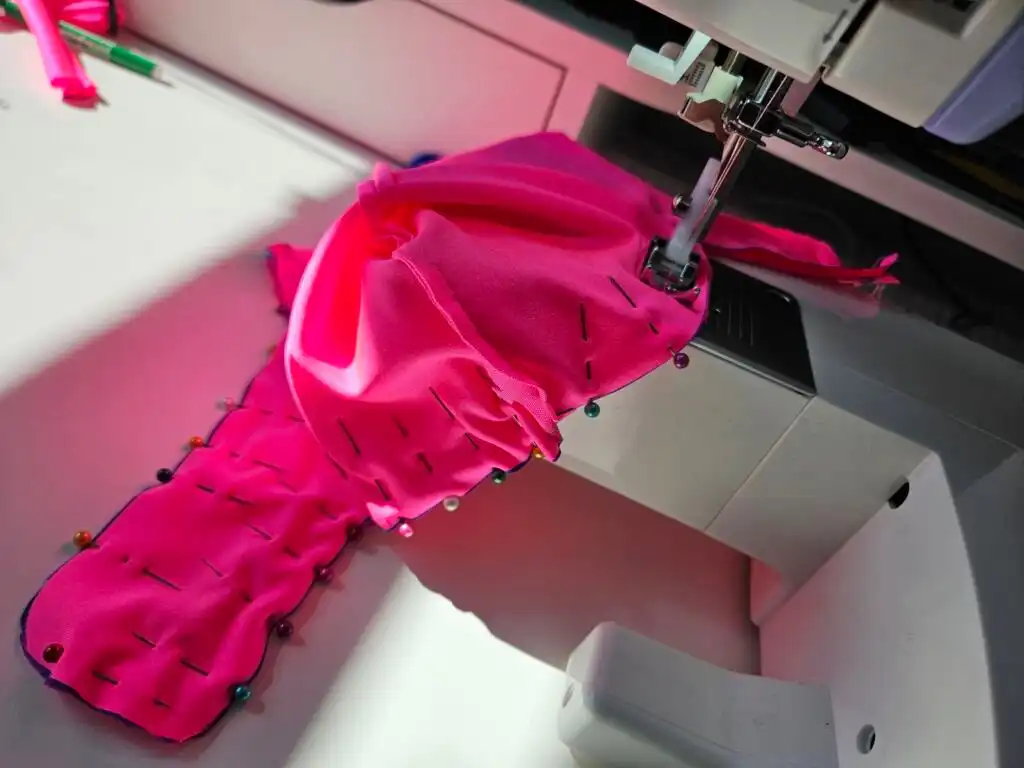
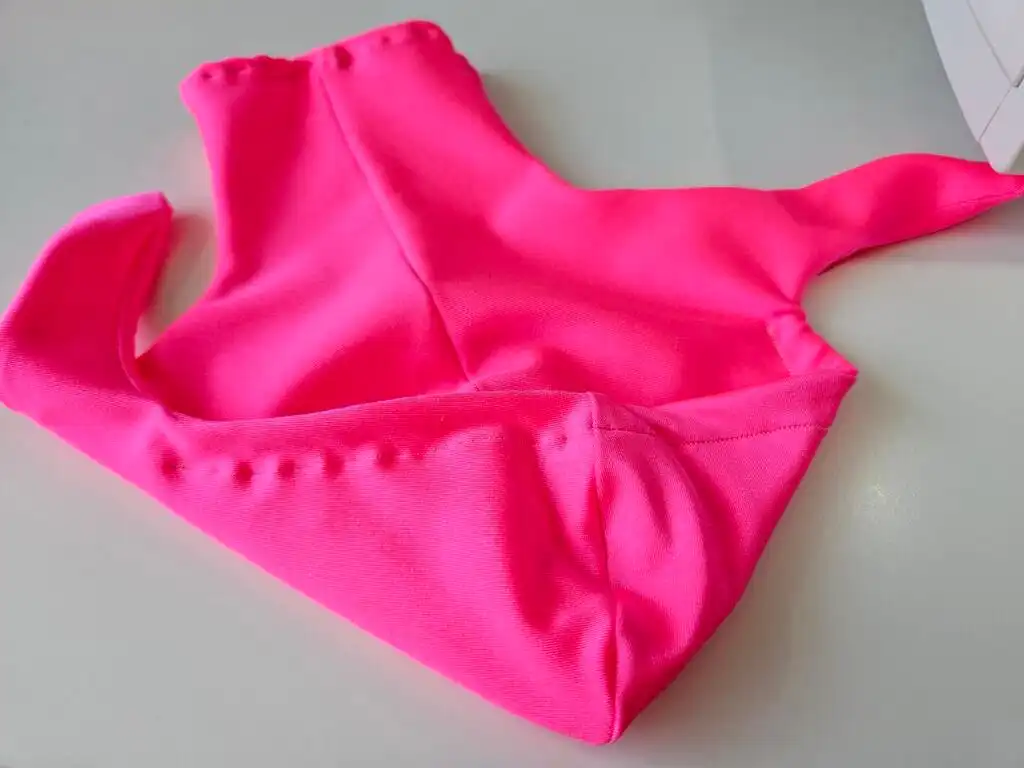
Sew a line from the top, creating a tunnel around the tail end where the elastic band will be nestled. This meticulous stitching not only secures the band but also adds a touch of finesse to the diaper design.
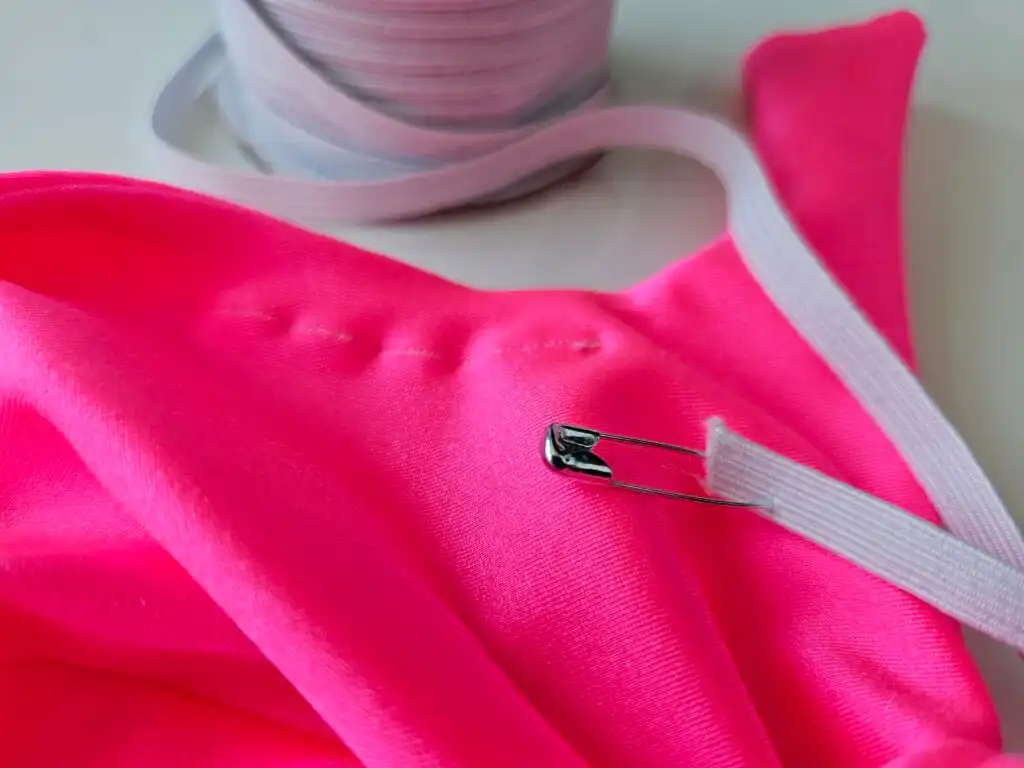
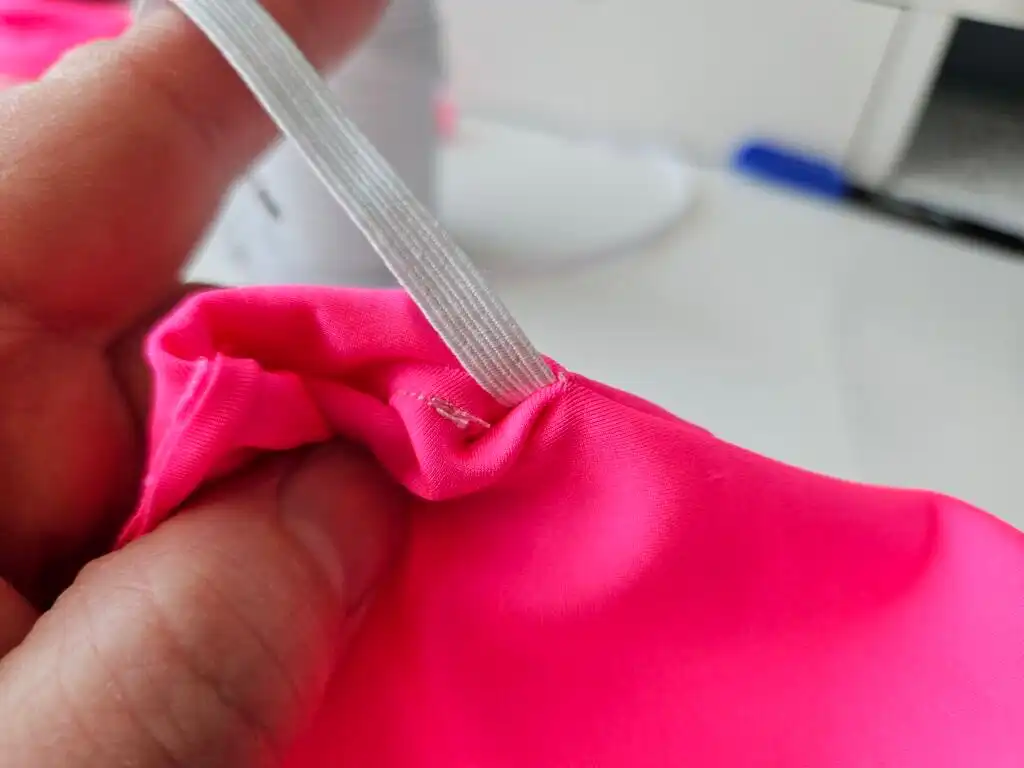
The next enchanting step involves threading the elastic band through the tunnel using a safety pin, ensuring a seamless and comfortable fit.
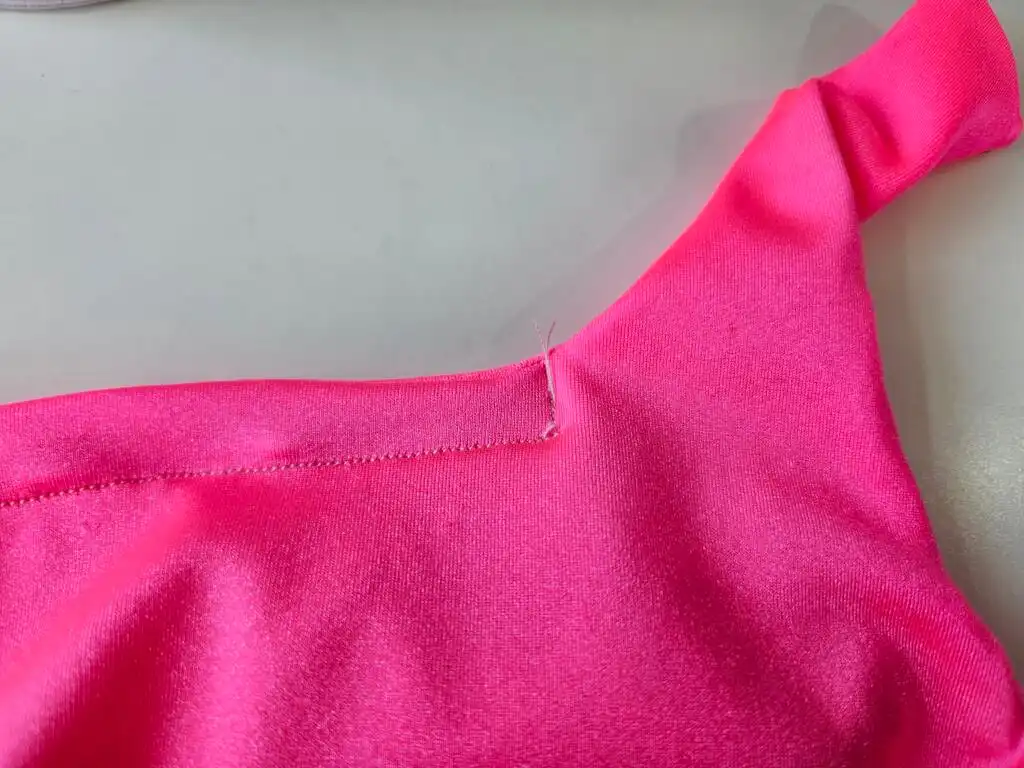
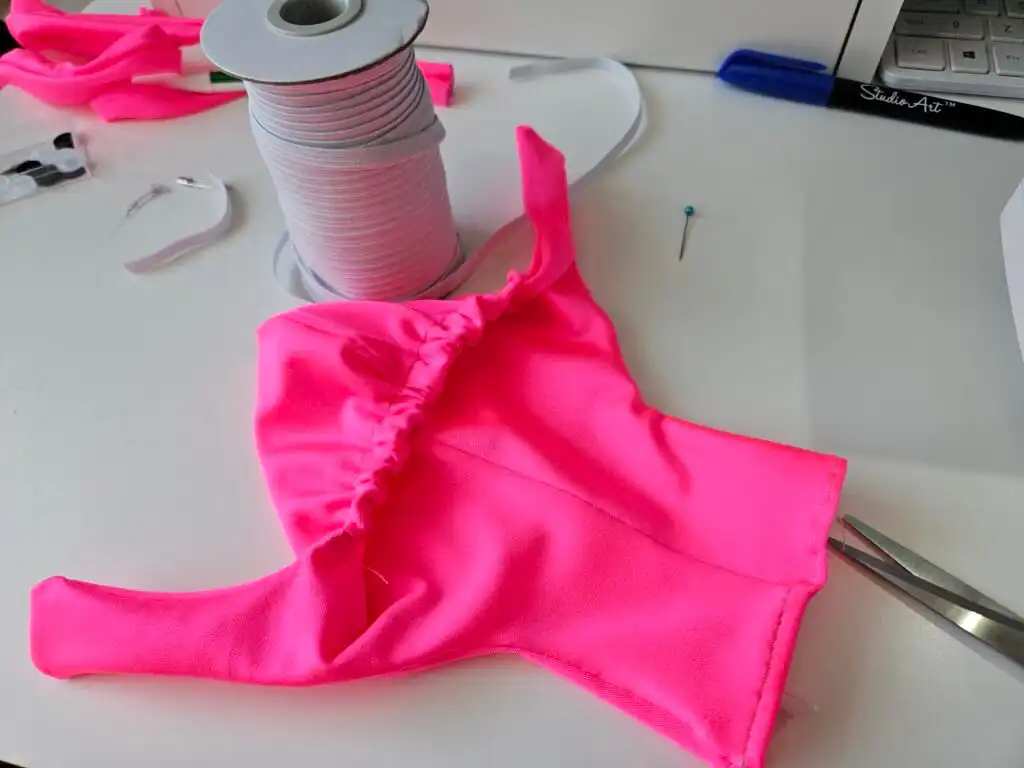
Don’t forget the finishing touch – secure the elastic band on both sides, completing the process with a touch of craftsmanship and care. Your duck’s diaper is now one step closer to becoming a cozy and stylish accessory.
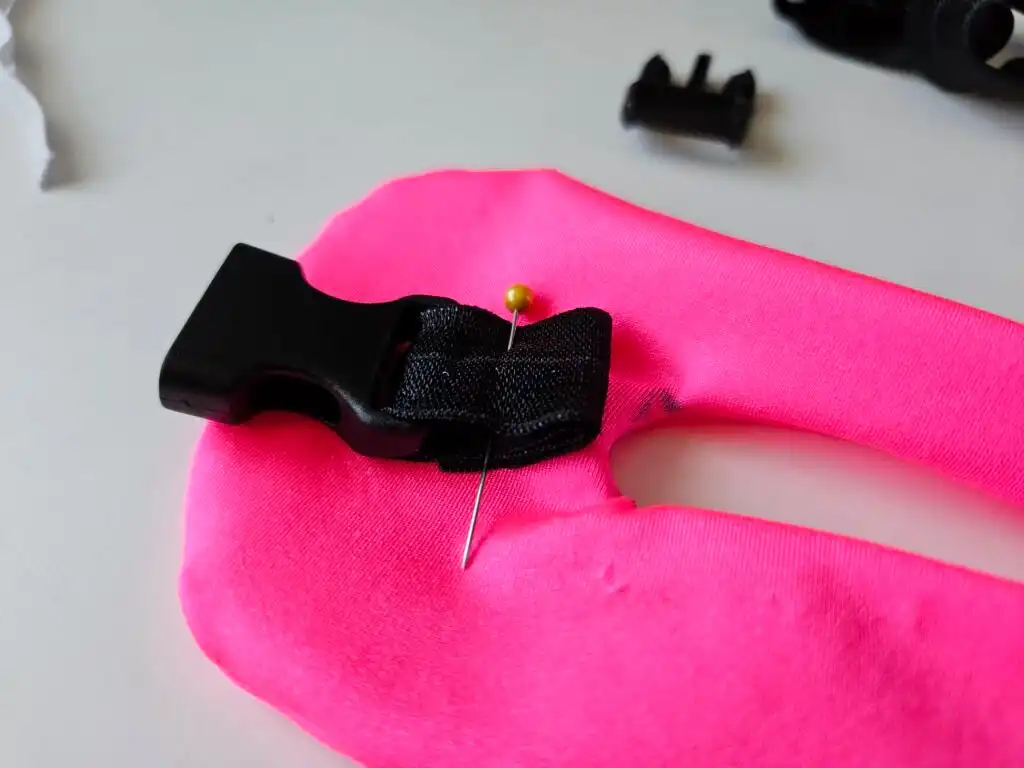
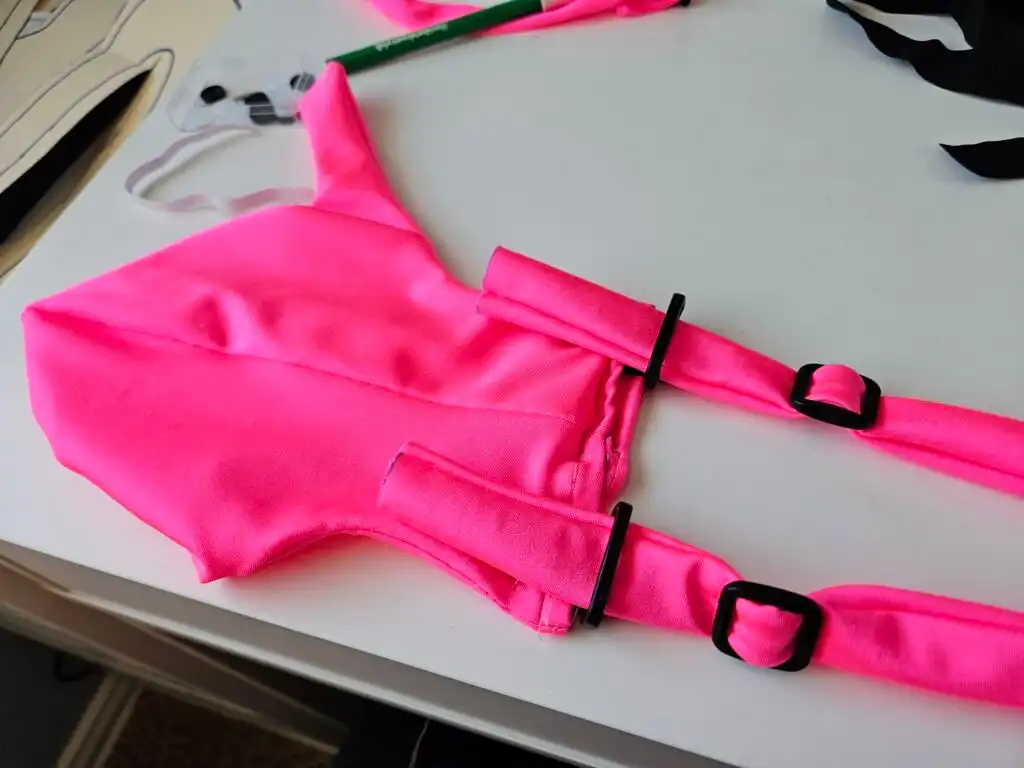
Step 6. Attach the Buckles
Moving forward, let’s bring functionality and adjustability to your duck diaper by attaching the buckle and buckle triglides to the adjusting parts B and C.
Begin by securing one part of the buckle to the head loop of part B, ensuring it’s firmly stitched for durability.
Next, attach the other part to one end of the buckle to Part C. In parallel, position the buckle triglide to part C to allow for adjusting later on.
Carefully stitch these components in place, ensuring a snug fit and allowing you to adjust the diaper according to your duck’s comfort.
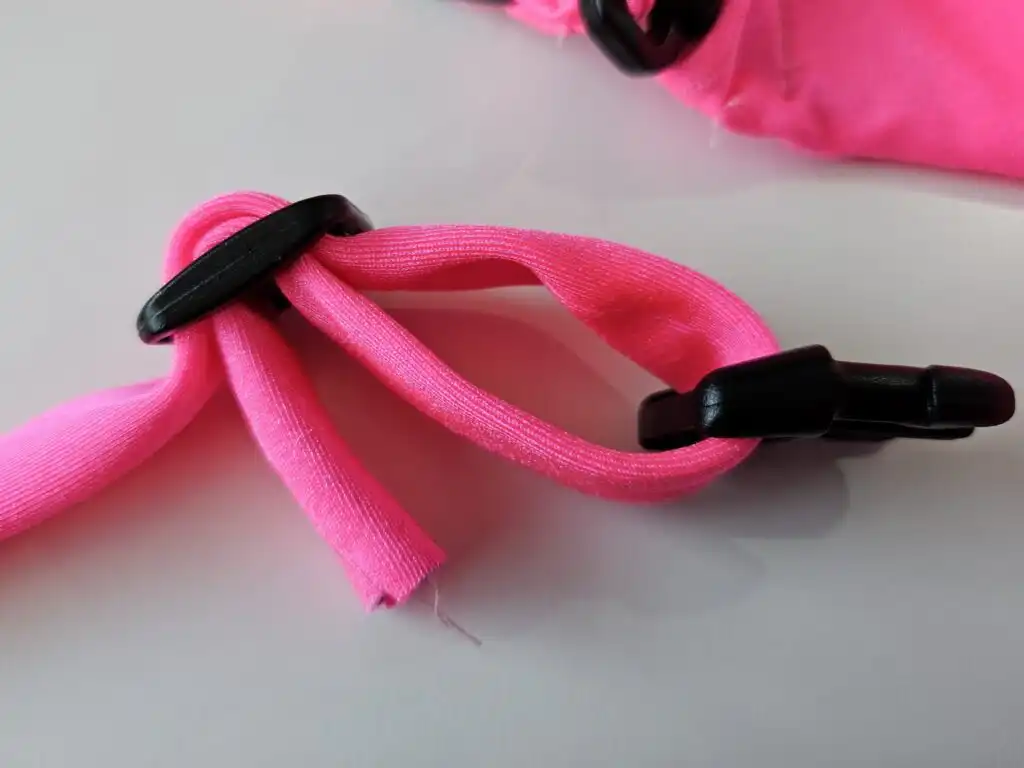
7. Combine All Parts
Skillfully secure all components together, ensuring the diaper achieves both sturdiness and impeccable construction.
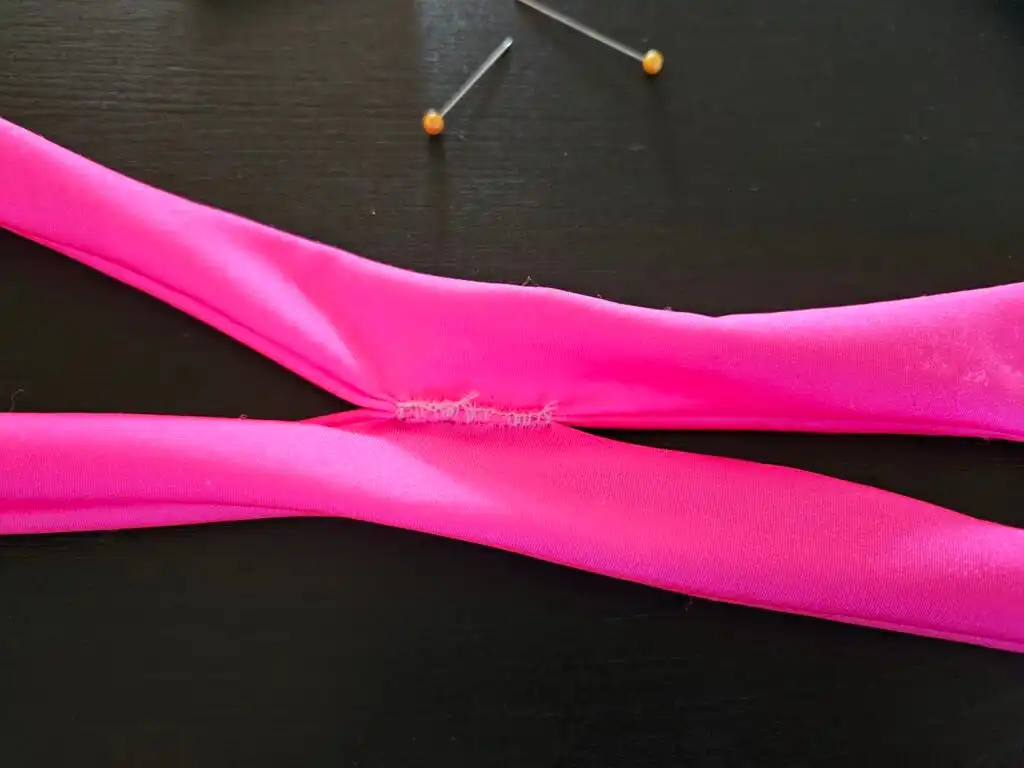
Initiate the process by introducing two loops to the short end of Part A.
Subsequently, close the short end by sewing from the top side, seamlessly uniting the fabric.
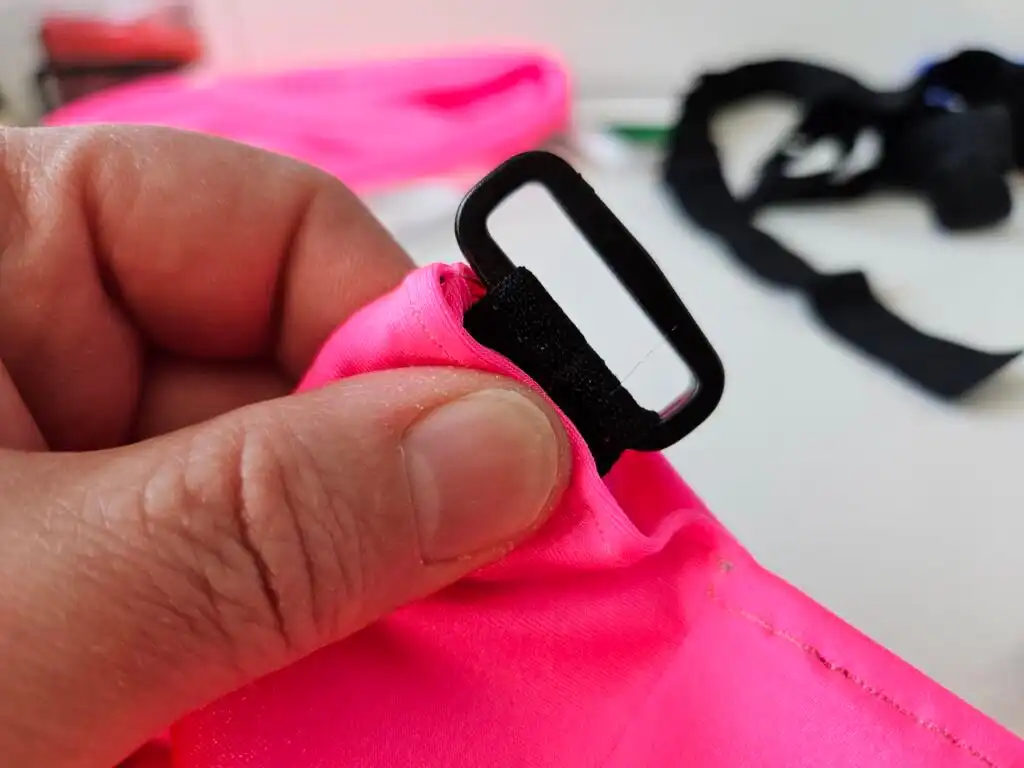
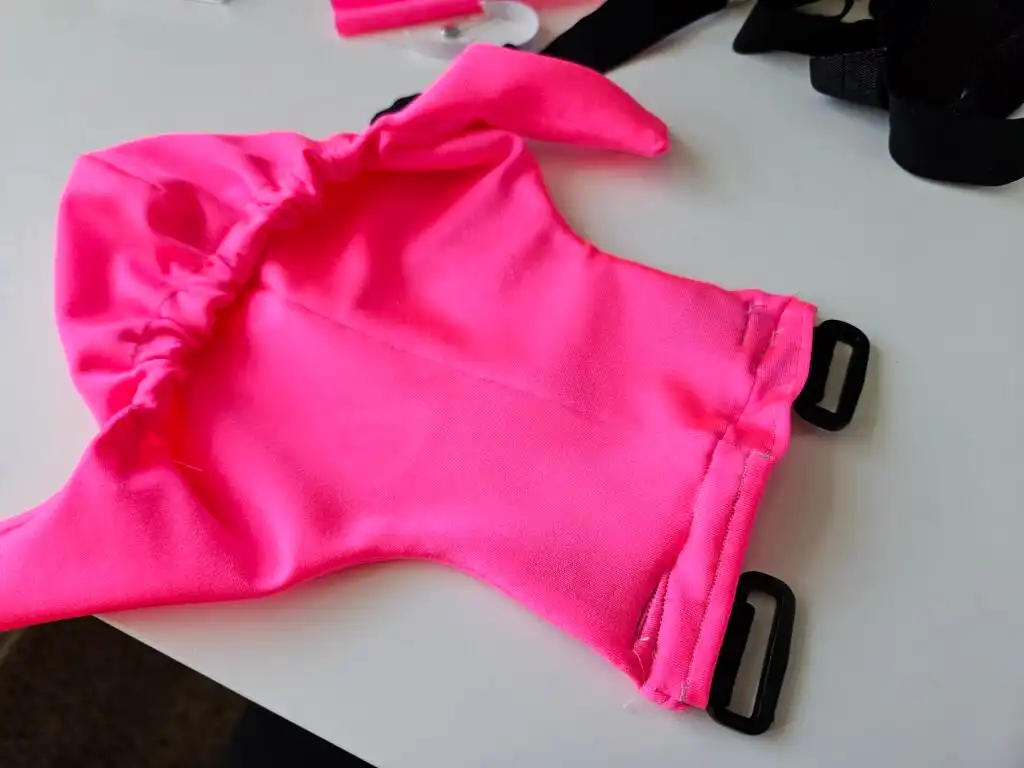
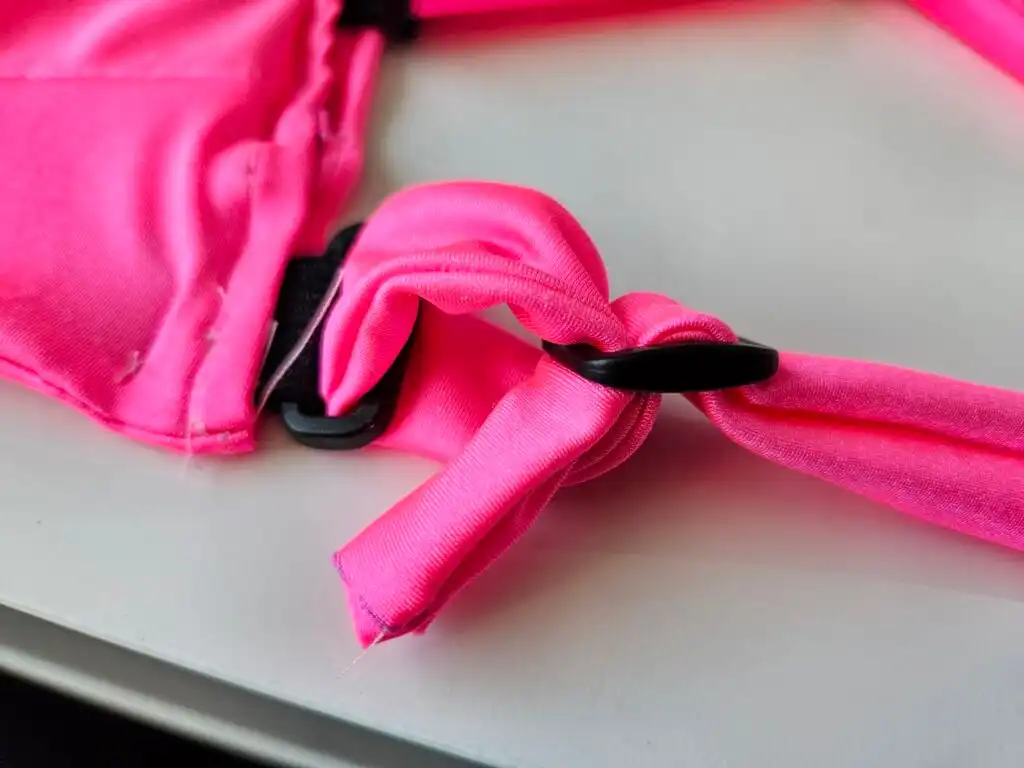
Moving on, affix the triglides to both strips of Part B before threading them through the loops at Part A.
Carefully stitch and secure the ends once threaded through, guaranteeing a reliable and adjustable fit.
Now, attach the side without the buckle from Part C to the top side of Part A, creating a cohesive structure.
Lastly, complete the loop from Part B by connecting both sides for approximately an inch, contributing to the overall strength and integrity of your duck diaper.
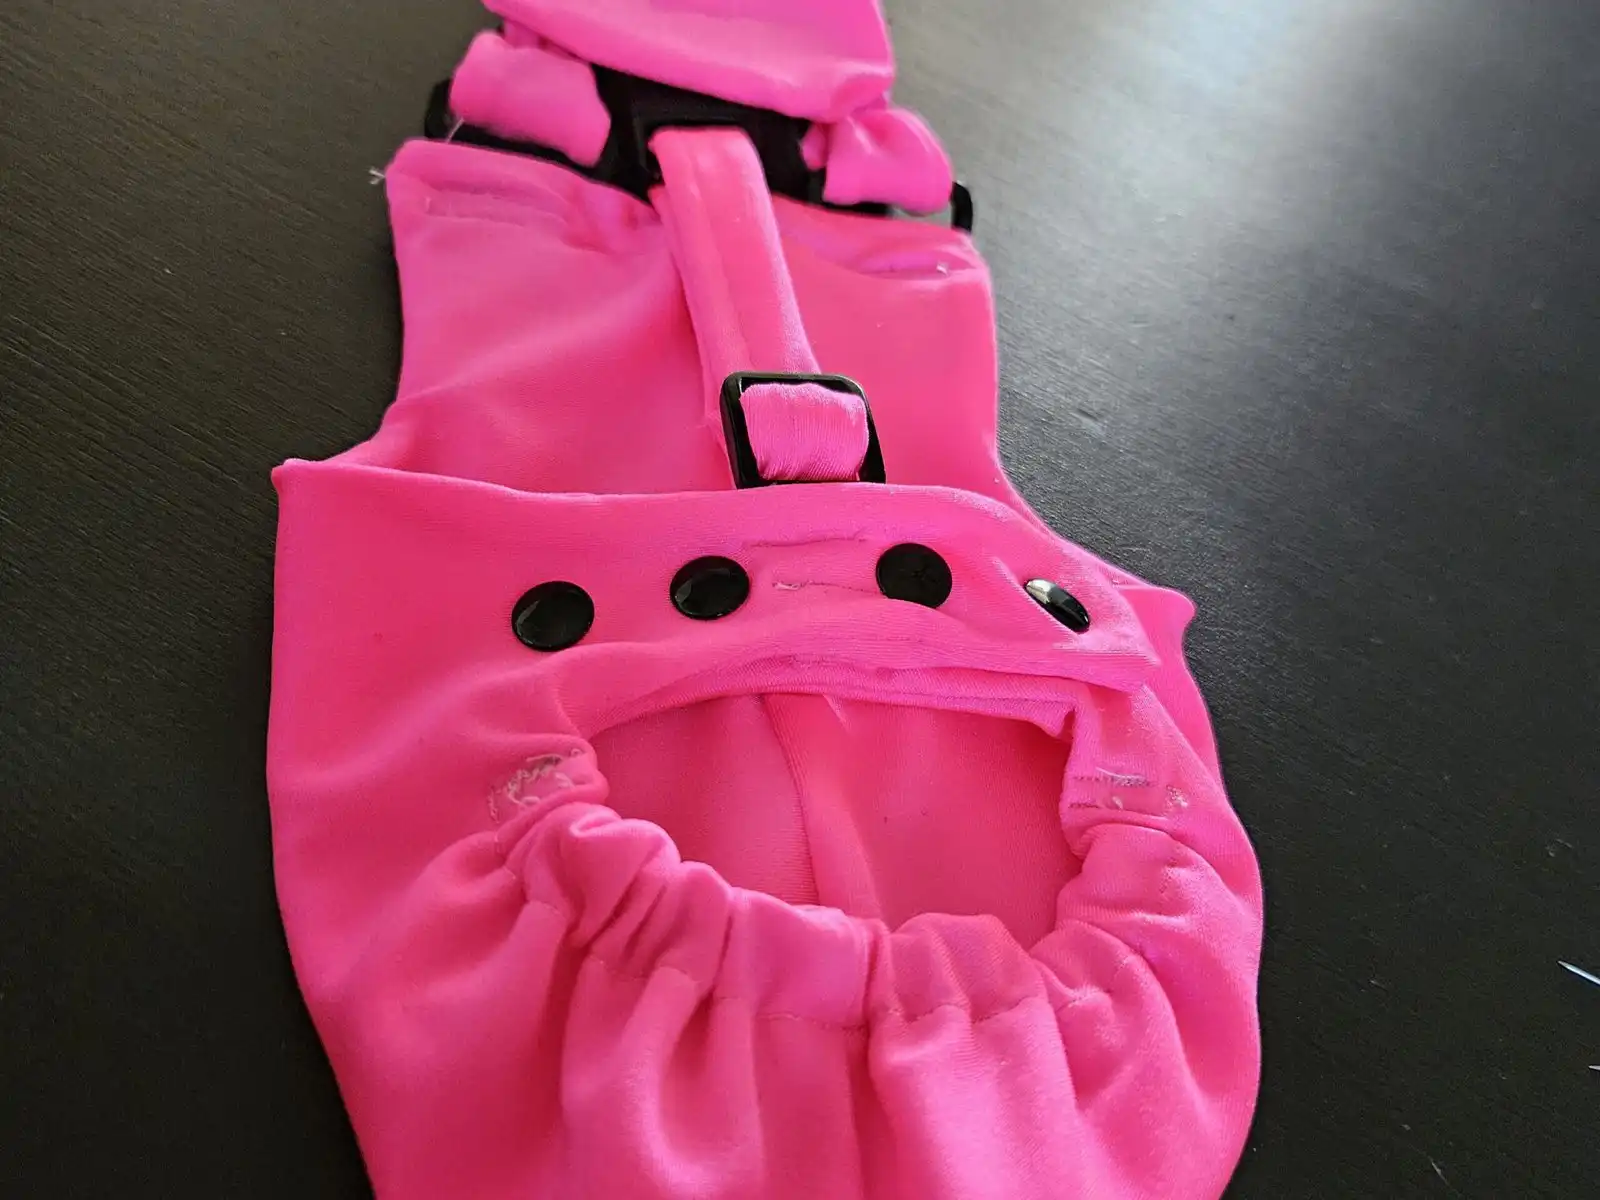
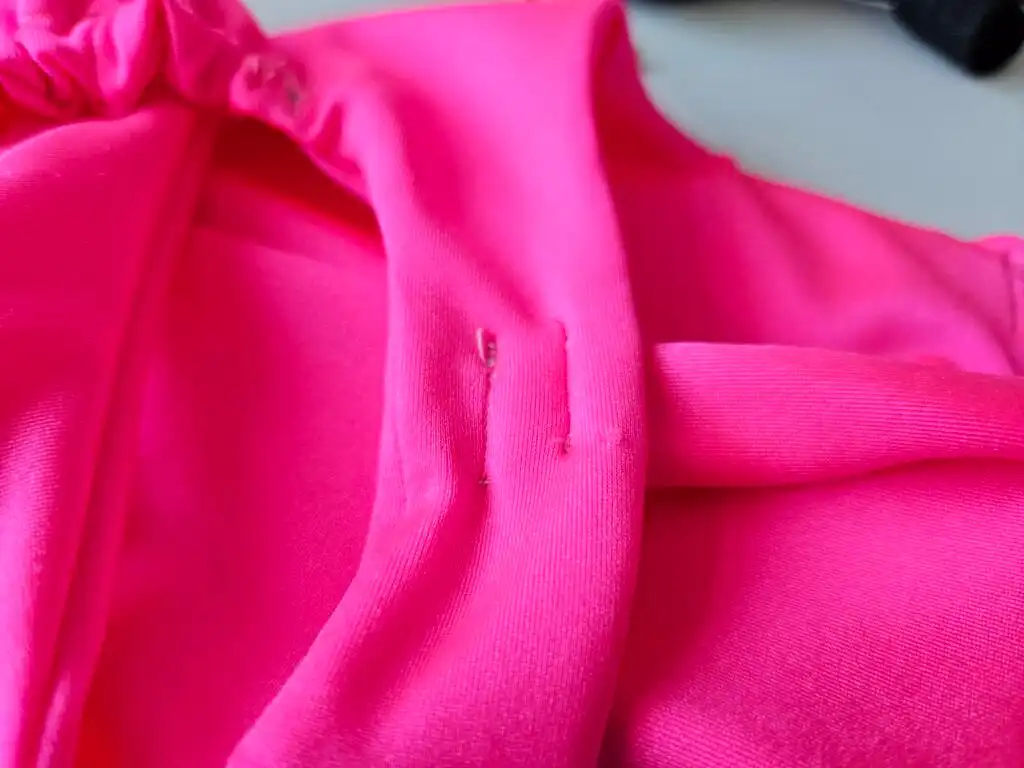
8. Add Snap Buttons
Now, let’s embark on the last phase of crafting. It’s time to integrate the snap buttons into Part A, bringing functionality and a polished finish to your duck diaper.
Ensure you have both the male and female parts ready. As a standard practice, I typically use four snap buttons, but for larger diapers, you may find it beneficial to incorporate more.
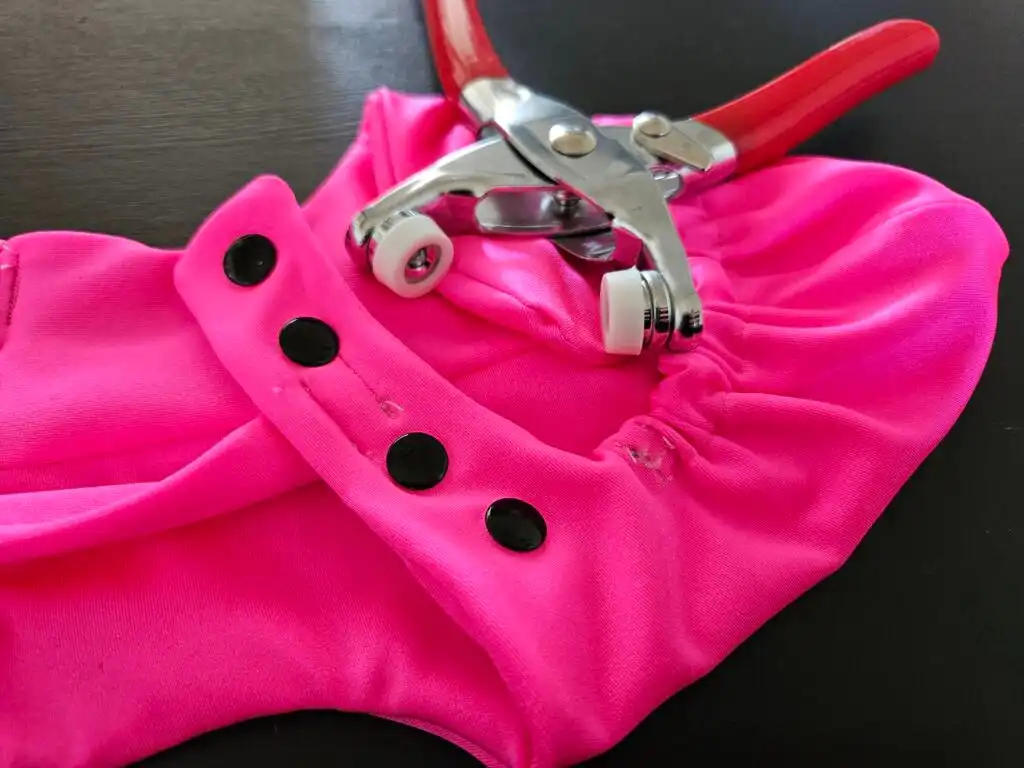
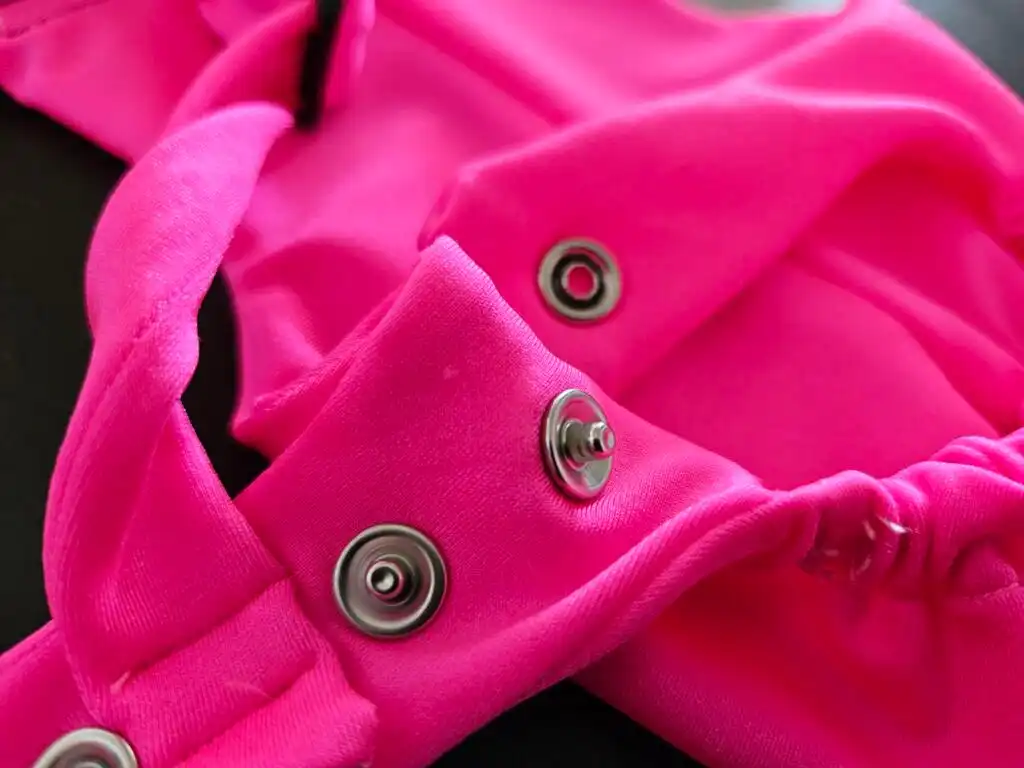
Carefully attach these snap buttons, strategically placing them to provide a secure closure while allowing for easy putting on and removing the diaper.
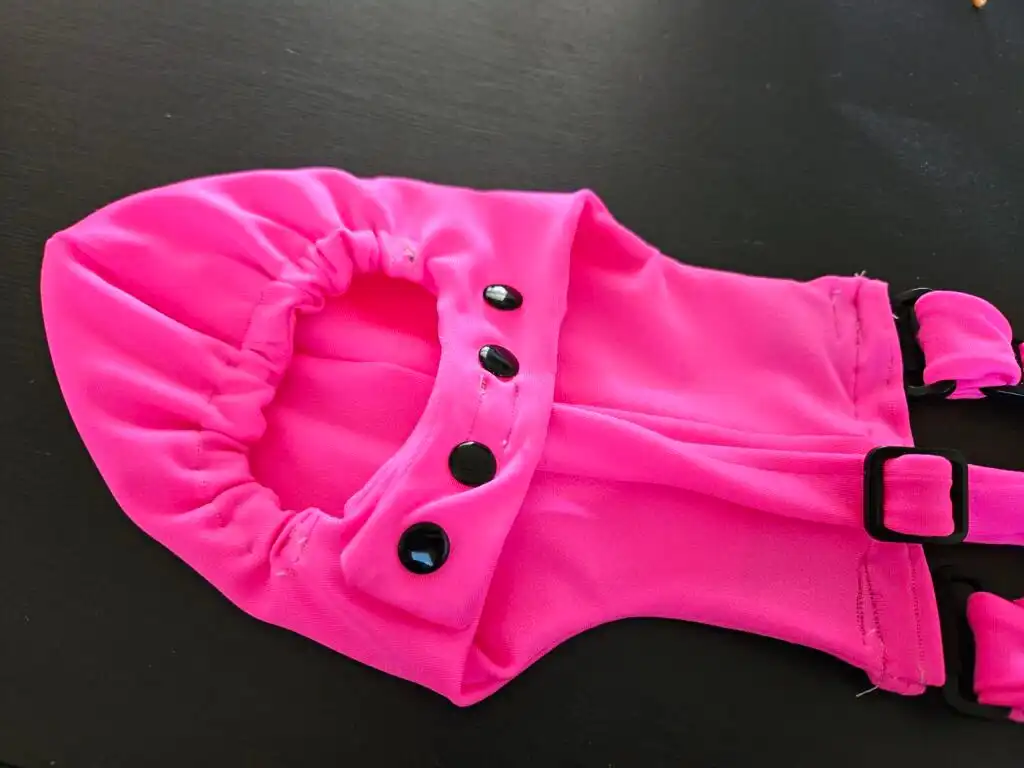
This final touch adds a practical element and elevates the overall design, making your duck diaper both functional and stylish.
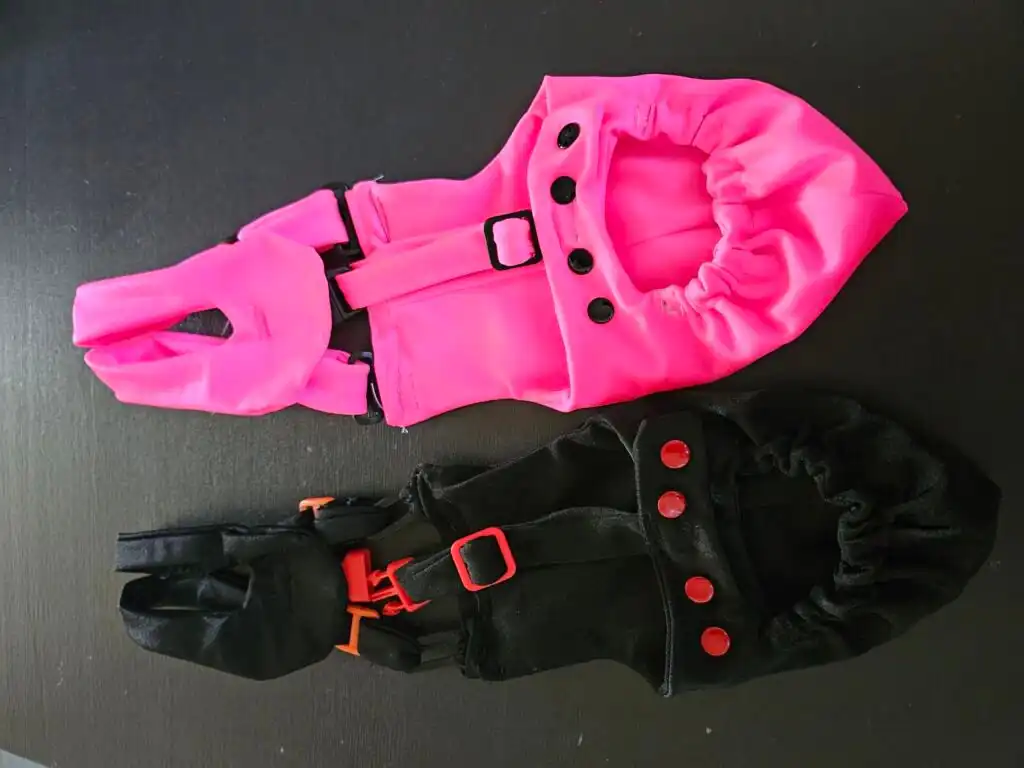
Step 9: Test and Adjust
Put the diaper on your duck and observe. You’re all set if it fits well, and your duck seems comfortable. If adjustments are needed, go back and tweak the elastic bands or Velcro strips accordingly.
Tips for Duck Diaper Success
- Comfort is Key: Ensure the diaper is snug but doesn’t restrict your duck’s movement.
- Regular Checks: Periodically check the diaper for any signs of wear or discomfort.
- Start Slow: Introduce the diaper gradually, allowing your duck to get used to the idea.
Now, you’re ready to embark on your DIY duck diaper project! With a little creativity and these simple steps, you can enjoy the company of your ducks indoors without worrying about messes. Happy duck parenting!
Don’t forget to check out our shopping list.
Let us know if you have any questions or need additional help.
Further Reading & Resources
- Duck Diaper Demystified: Answering Your Top 9 Questions
- Indoor Pet Ducks: Tips for a Happy, Healthy House Duck
- Can You Keep Ducks Indoors as a House Pet?
- Enrichment and Toys for Ducks
Is your habitat optimized for safety? Return to the Habitat Guide for more research on predator-proofing and sanctuary design.
Is there a template you can provide? I’d love to make my own but need a pattern to follow. Thanks!
I will make the pattern available for download soon!
Awesome thank you!
The pattern is now available to download for free!
I’m so sorry to bother but I can’t seem to find the download link. I appreciate you sharing so much….maybe I’m just missing it somewhere?
Thank you!