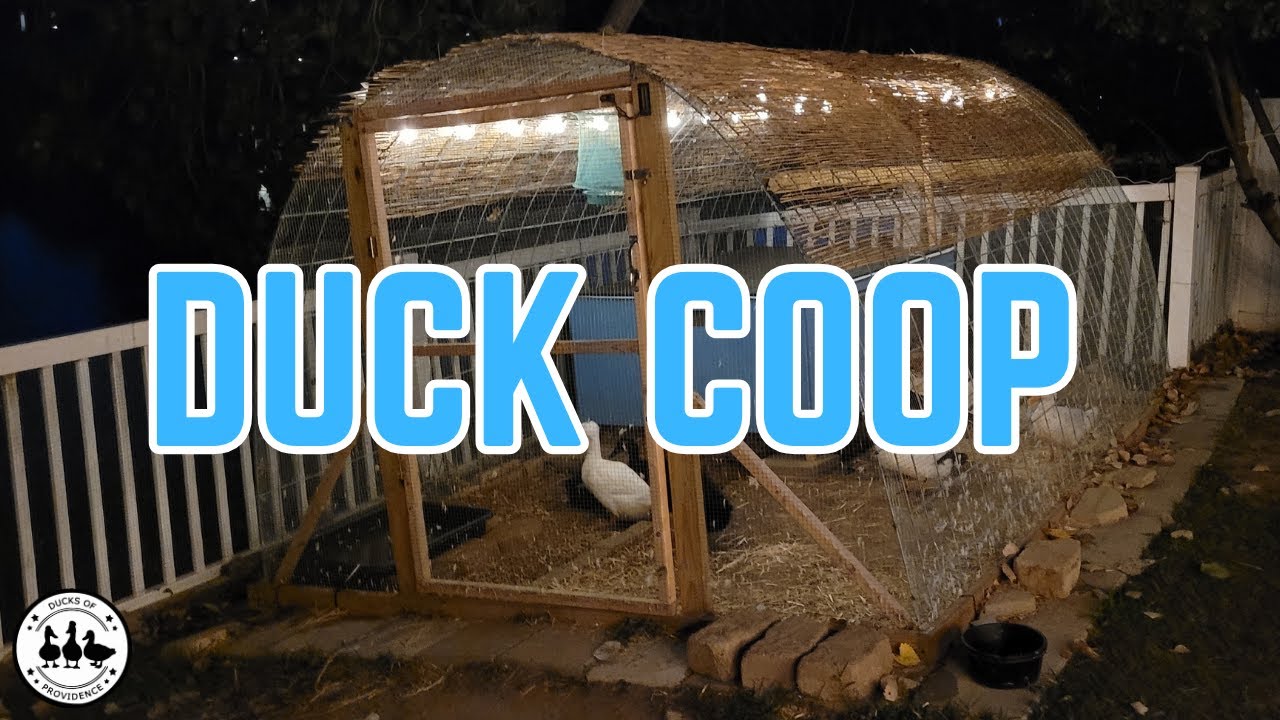
Building a Hoop Coop for Ducks with Cattle Panels
Creating a hoop coop for your ducks using cattle panels is a sturdy and efficient way to provide them with a safe shelter. It is very easy, even if you do not have ...
Last updated: April 20th, 2026
To keep our research-backed guides free, this site uses ads and affiliate links (earning a small commission at no cost to you). Everything here is created by a duck mom and PhD scientist, combining academic rigor with hands-on experience to provide practical, trustworthy advice for duck keepers everywhere. 🦆 Learn more
Creating a hoop coop for your ducks using cattle panels is a sturdy and efficient way to provide them with a safe shelter. It is very easy, even if you do not have a lot of experience building stuff. It is an affordable alternative to other duck coop or run designs. We paid less than $300 for the whole hoop coop, which is 8 by 12 feet.
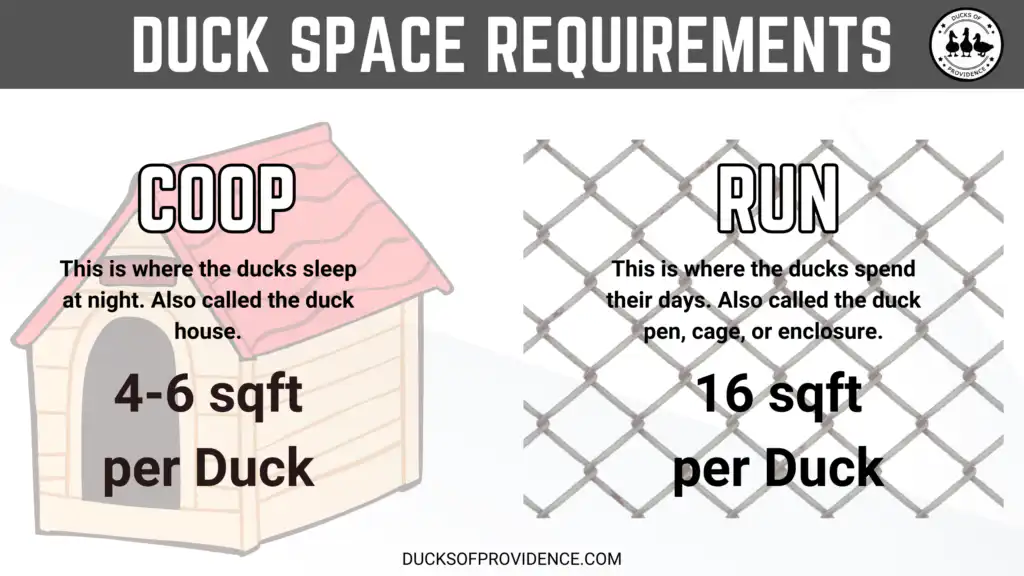
While the name is hoop coop, it can be used as a coop or as a run for your ducks, depending on your needs. What is the difference, you may ask? A coop is a safe enclosure where the ducks spend their nights, whereas the run is the enclosure that they use during the day.
Let’s walk through the process step by step, ensuring a comfortable home for your feathered friends.
Part of the Housing & Environment Hub, Engineering safe, bio-appropriate habitats for backyard flocks.
Quick Navigation: Jump to a Section
[hide]
Materials Needed for the Hoop Coop:
- Cattle panels (4 x 16 ft)
- 2×4 lumber
- 2×2 lumber
- Chicken wire
- Hardware cloth
- corner brackets (optional)
- Hinges
- Latches
- Zip ties
- Tools: Wire cutters, drill, screws, staples, measuring tape
Step 1: Planning and Preparation
- Determine the size of your hoop coop based on the number of ducks you have and available space. You should aim for about 4 to 6 square feet of floor space per duck inside the house for the night and approximately 16 square feet of outdoor space per duck.
- Choose a suitable location with good drainage and level ground for your coop.
- The cattle panels are 4 x 16 ft. When you select a width of 8 ft for the coop, it will be approximately 7 ft high. Choose the number of cattle panels based on your anticipated length (two for 8 feet, 3 for 12 feet, 4 for 16 feet, etc.).
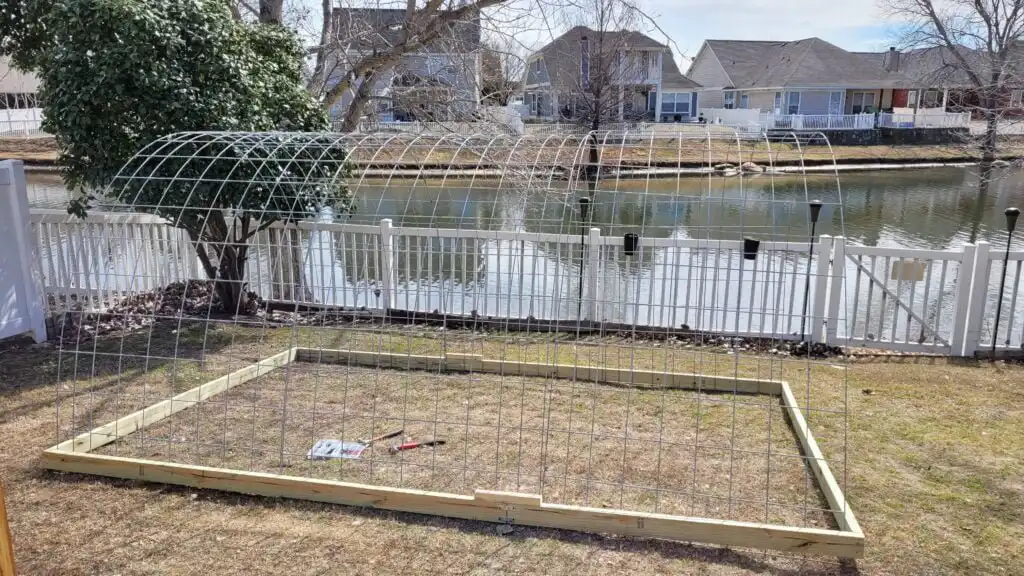
Step 2: Frame Construction
- Cut the 2×4 lumber into sections to create the base and support framework for the hoop coop.
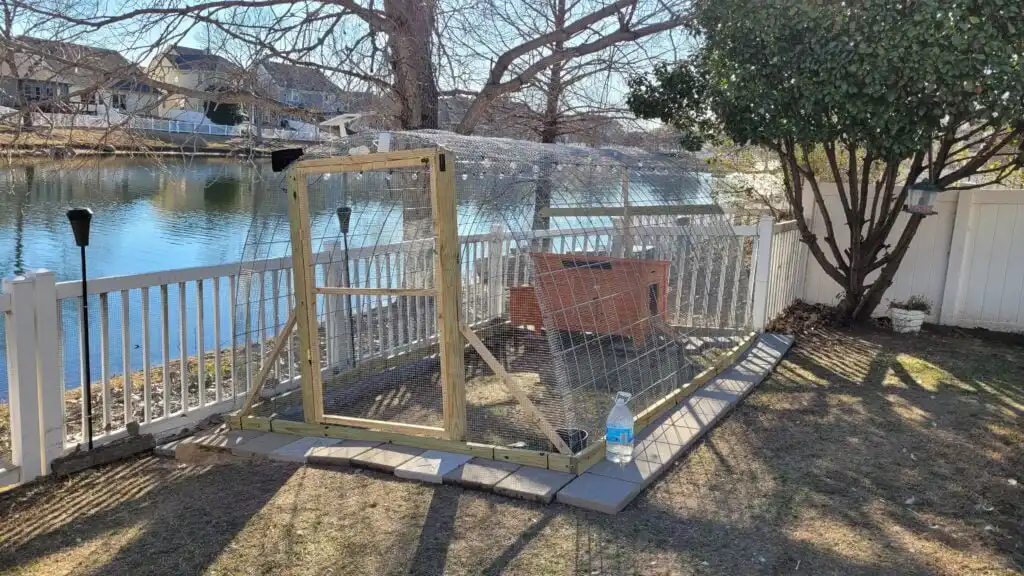
- Create a rectangular base by attaching the 2x4s together with screws (or alternatively with corner brackets), forming the foundation of your coop. We made our coop 8 ft wide and 12 ft long.

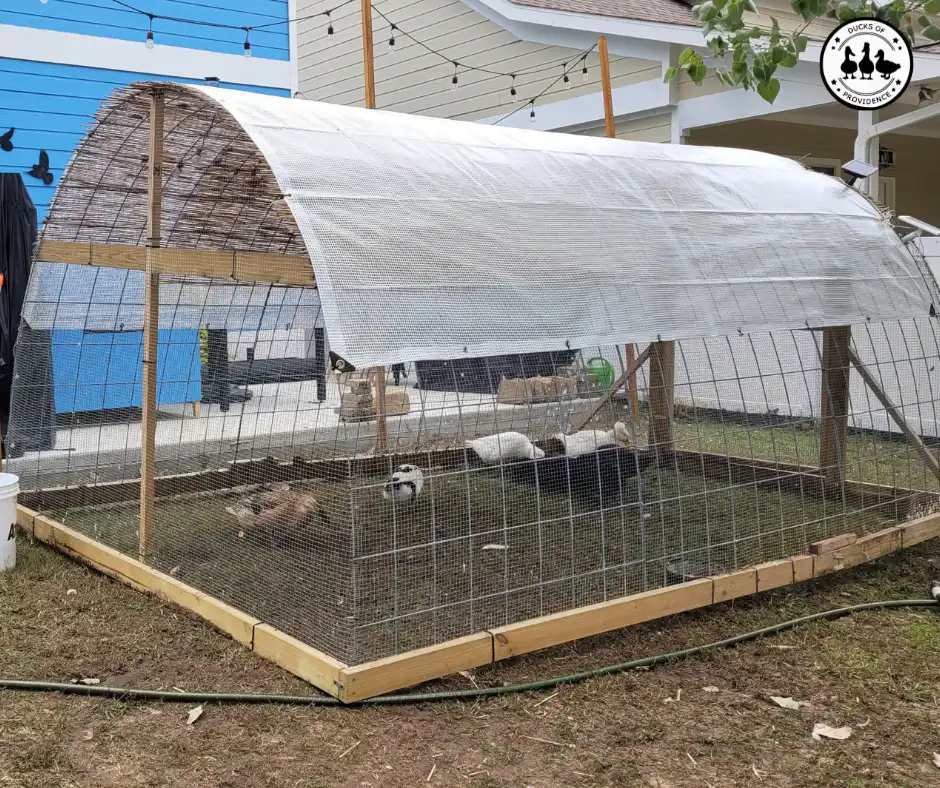
- Insert the cattle panels into the frame so that they will form the arch of the hoop coop.

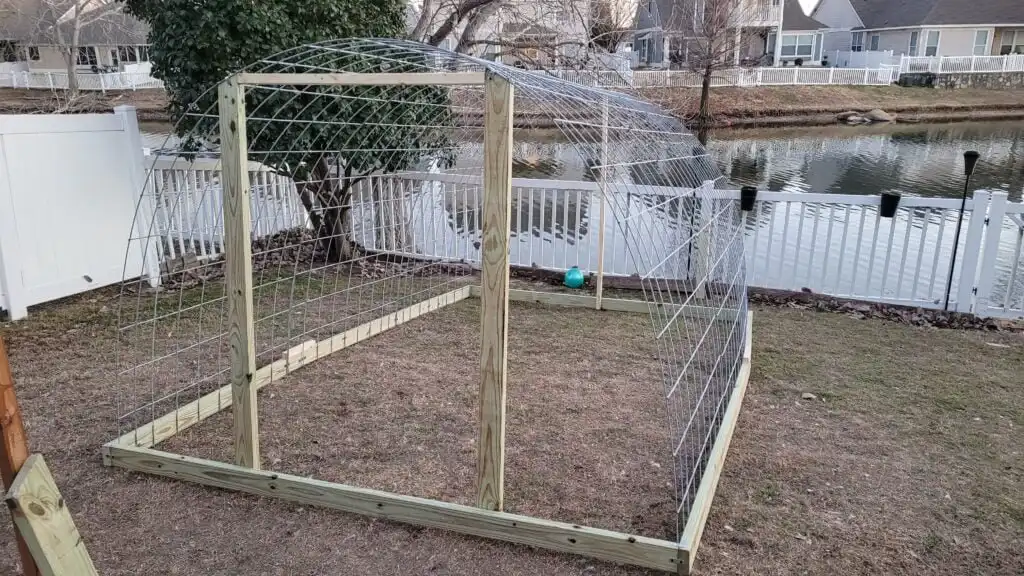
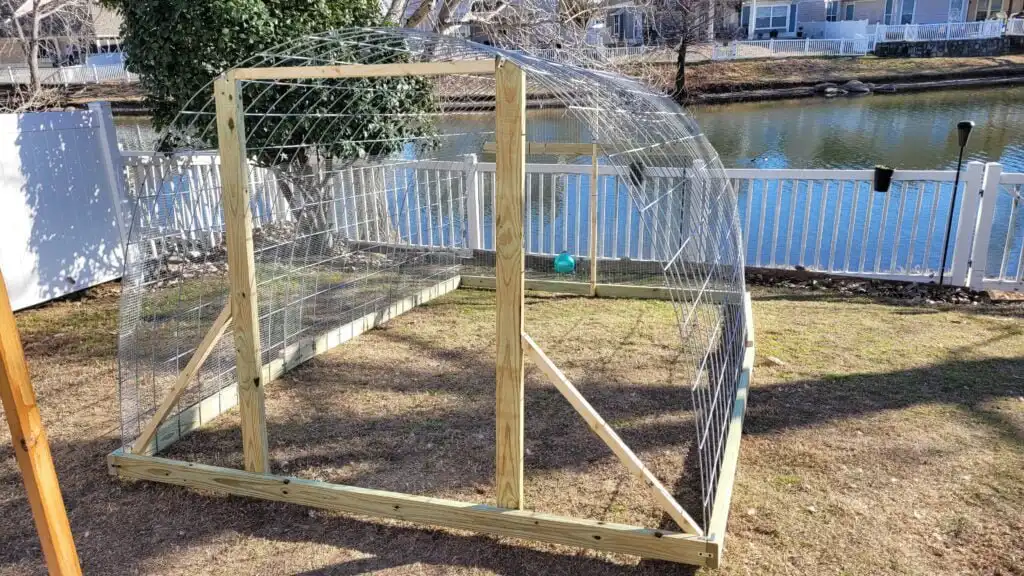
Step 3: Securing the Structure and adding Door Frame
- Make the hoop coop more sturdy by adding vertical frames at the front and backside.
- At the front, we use them at the same time to build the frame for the door.
Step 4: Covering and Protection
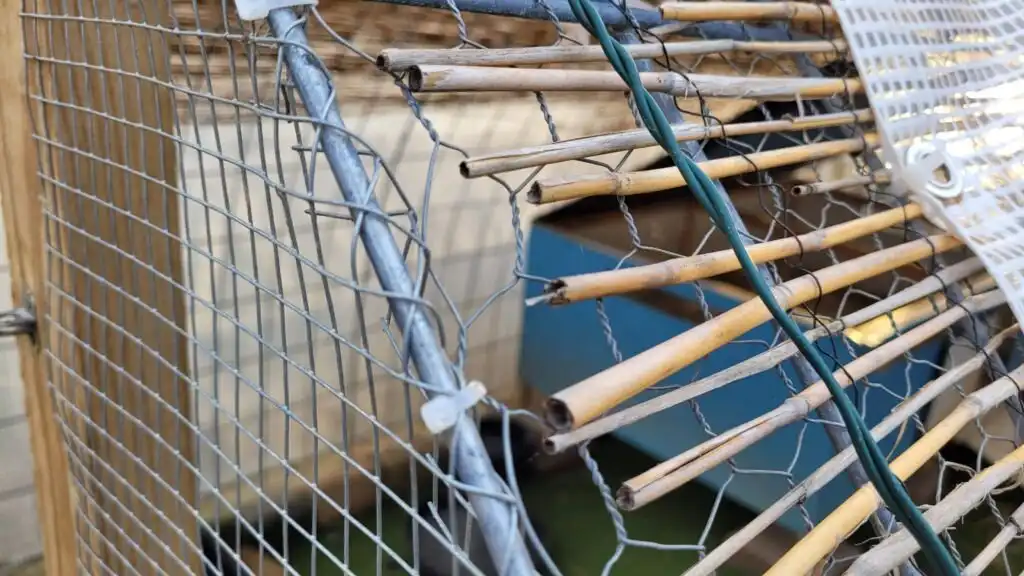
- Cover all the sides of the hoop coop with hardware cloth to provide ventilation while keeping predators out. Secure the hardware cloth to the frame using staples and to the cattle panels underneath using zip ties.
- Alternatively, you can cover the roof (top part of the arch) with chicken wire instead of hardware cloth. We would not recommend using chicken wire all around because it is not predator-proof. Raccoons can easily rip it apart. Learn more about predator- proofing your enclosure or about duck predators in general in our other posts.
Step 5: Door and Access Points
- Frame a door with the 2x2s for the opening at one side of the hoop coop, ensuring it is large enough for easy access for cleaning and maintenance.
- Cover the door frame with hardware cloth using staples;
- Attach the door with hinges and add latches for security.
Step 6: Adding Finishing Touches
- Walk around the hoop coop and inspect for any sharp edges or potential hazards that could harm your ducks. Trim any excess wire or lumber as needed.
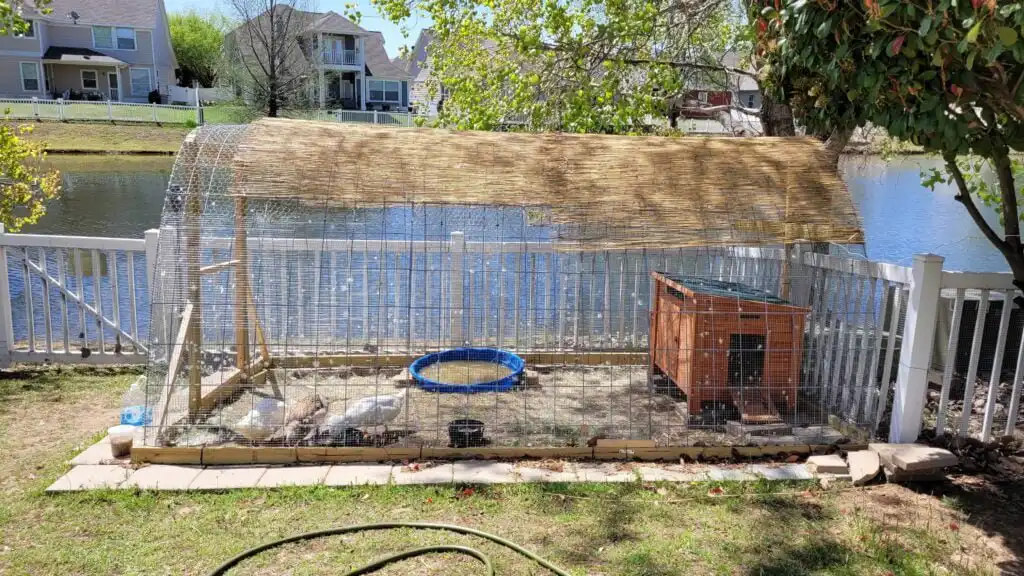
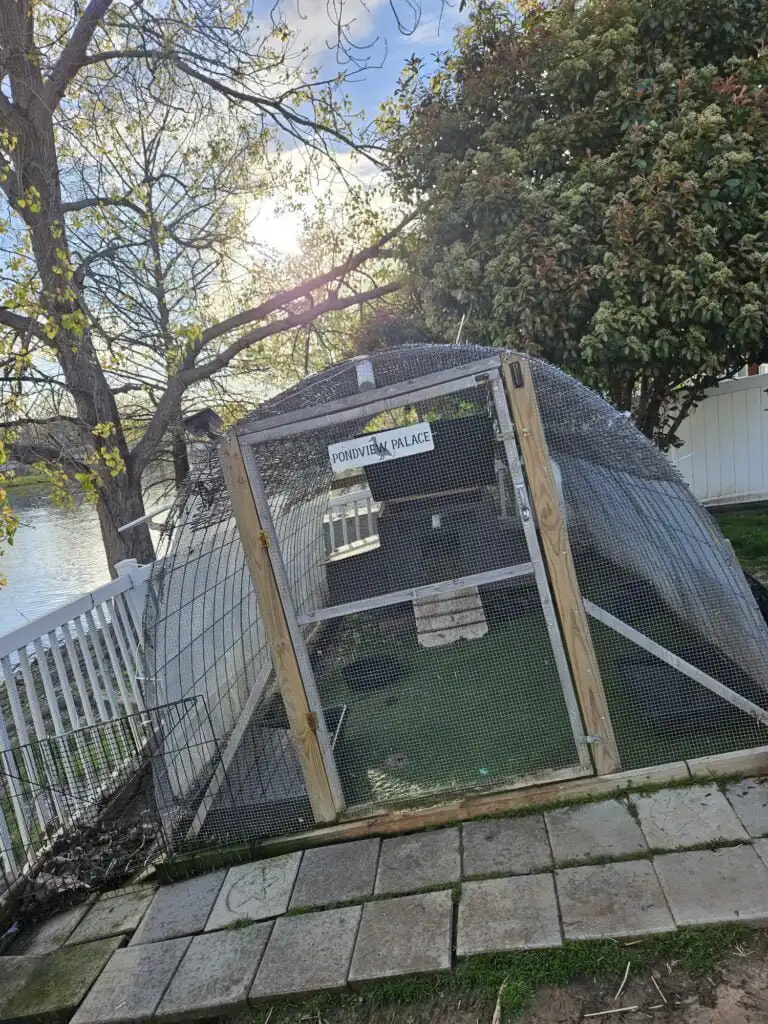
- Add a skirt of hardware cloth around the coop or pavers around like we did to secure it against digging predators.
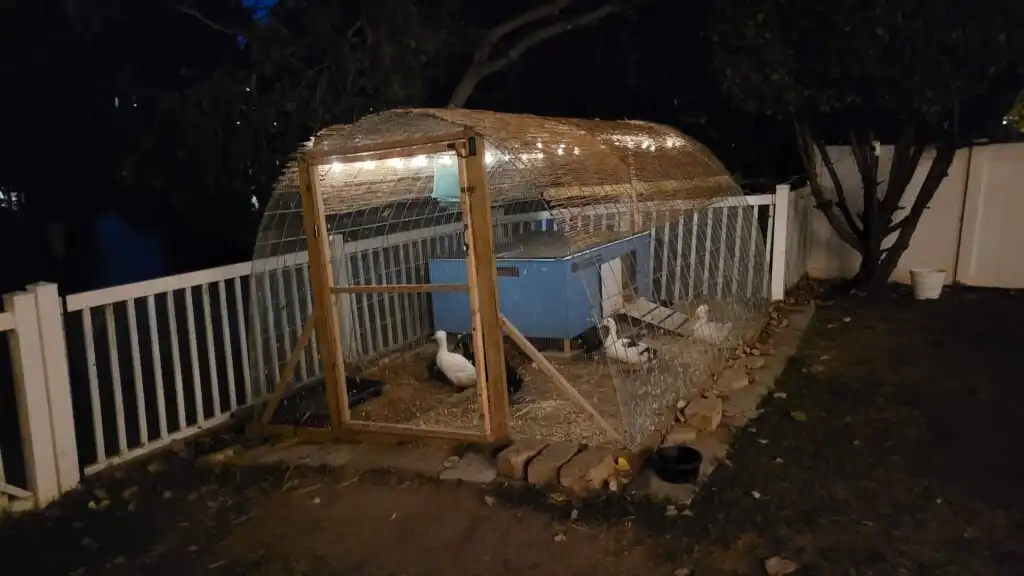
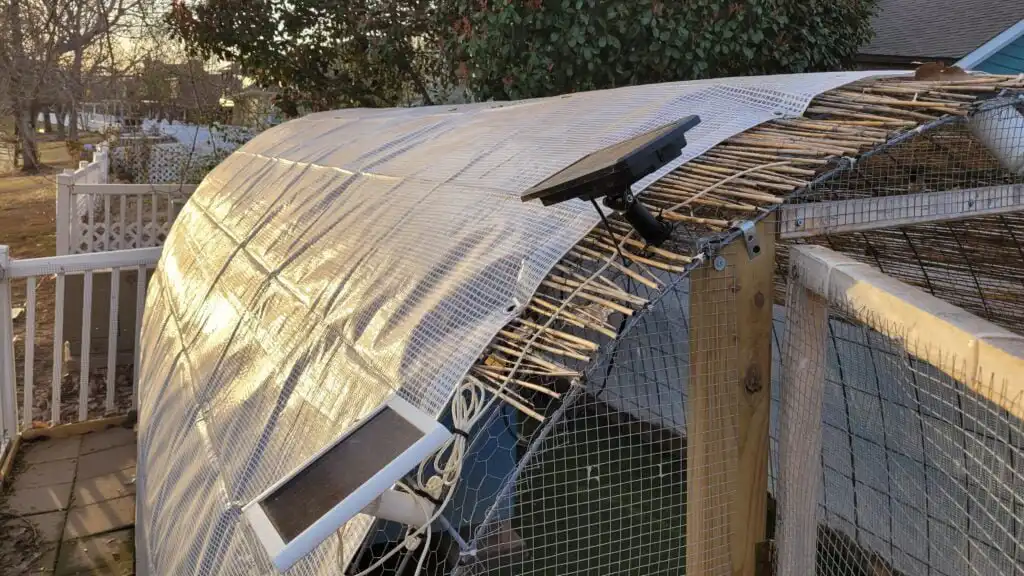
- We added solar-powered string lights inside so that the ducks and we have light after dark.
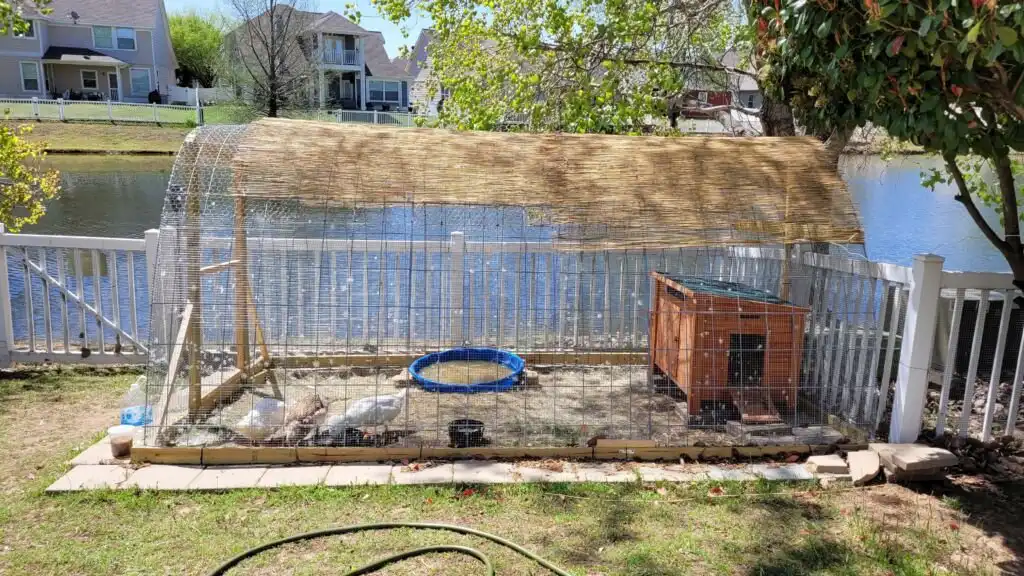
- You can also add a tarp around the hoop during the winter months for additional protection. We used a clear, heavy-duty tarp.
- We also added a reed mat to the roof to provide shade.
- Security cameras are also a good idea. We use a ring camera with a solar panel.
- Fill the interior of the coop with duck bedding, such as straw or wood shavings, to provide a comfortable and cozy environment for your ducks.
- Place their night house inside or attach it to the backside of the hoop coop.
- And how about adding a custom coop sign to your new hoop coop? We have added one and absolutely love it!
Step 7: Regular Maintenance
- Regularly check the hoop coop for wear and tear, especially after inclement weather, and make any necessary repairs promptly to ensure the safety and comfort of your ducks.
- Clean the coop regularly to maintain a healthy living environment for your ducks, removing soiled bedding and debris.
By following these steps, you can construct a durable and practical hoop coop for your ducks using cattle panels, providing them with a secure and comfortable home to thrive in. Happy building! 🦆🏠
Related Articles
- Read how to predator-proof your new coop
- Read more about common and not-so-common predators for ducks
- Super Easy DIY Duck House
- How Artificial Turf Transformed Our Duck Run
Is your habitat optimized for safety? Return to the Habitat Guide for more research on predator-proofing and sanctuary design.
Check out our coop tour on YouTube