
Spring Coop Prep for Ducklings: Bedding, Smell, and the Brooder to Coop Transition
Last updated: February 28th, 2026
To keep our research-backed guides free, this site uses ads and affiliate links (earning a small commission at no cost to you). Everything here is created by a duck mom and PhD scientist, combining academic rigor with hands-on experience to provide practical, trustworthy advice for duck keepers everywhere. 🦆 Learn more
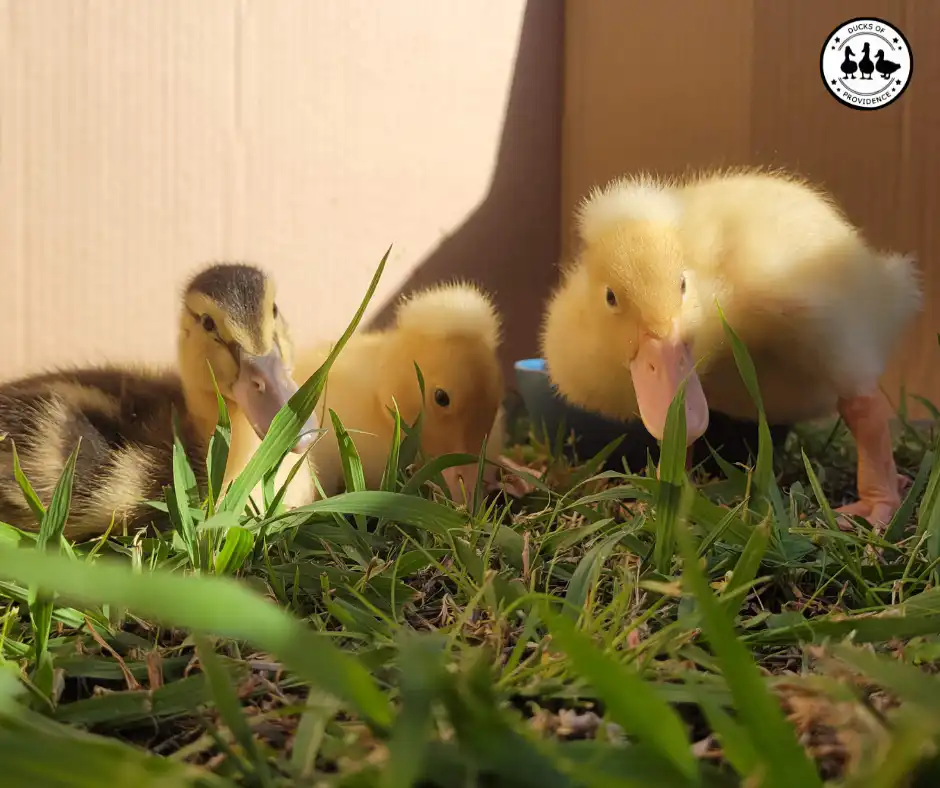
If your brooder suddenly smells, stays wet no matter how often you clean it, and feels far too small for ducklings that were tiny just days ago, you are not doing anything wrong. You have reached the brooder to coop transition, a fast and messy growth stage that surprises many duck parents.
This phase is often called the teenage duckling stage, and it is where most indoor setups begin to struggle. Ducklings grow quickly, their digestion ramps up, and their water use increases dramatically. Bedding that worked well early on becomes soaked within hours, and odor builds up even with frequent cleaning. At this point, simply changing bedding more often is rarely effective. What works better is stepping back and reassessing the entire setup.
This guide focuses on spring coop prep for ducklings with a practical, experience-based approach. We will cover bedding options that can handle moisture, realistic ways to reduce smell without compromising duck health, and how to prepare for a smooth move from brooder to coop without unnecessary stress. Whether your ducklings are nearly ready for outdoor living or still need time indoors, the goal is to scale your system intentionally rather than rushing the transition.
Understanding what changes during this stage and adjusting your setup accordingly makes the difference between constant frustration and a calm, controlled transition for both you and your ducks.
Ducks of Providence is free, thanks to reader support! Ads and affiliate links help us cover costs—if you shop through our links, we may earn a small commission at no extra cost to you. Thanks for helping keep our content free and our ducks happy!🦆 Learn more
Part of the Beginner’s Handbook, Essential foundational data for new duck parents.
Quick Navigation: Jump to a Section
[hide]
The Brooder to Coop Timeline
A Quick Duckling Growth Recap
Ducklings grow fast, and their housing needs shift just as quickly. Planning the brooder to coop transition works best when you understand how those needs change with age, feathering, and weather. What feels like a perfectly sized brooder in week one often becomes unmanageable by week four.
In the earliest stage, ducklings need warmth, secure footing, and simple access to food and water. As they grow, moisture control, space, and ventilation become the dominant concerns. Later, once feathers replace down, weather exposure and predator safety take priority.
This section focuses on how housing evolves during those stages. For detailed guidance on feeding, heat sources, and early health care, our dedicated duckling raising guides are helpful companions to this timeline.
Weeks One to Two Small Brooder Stage
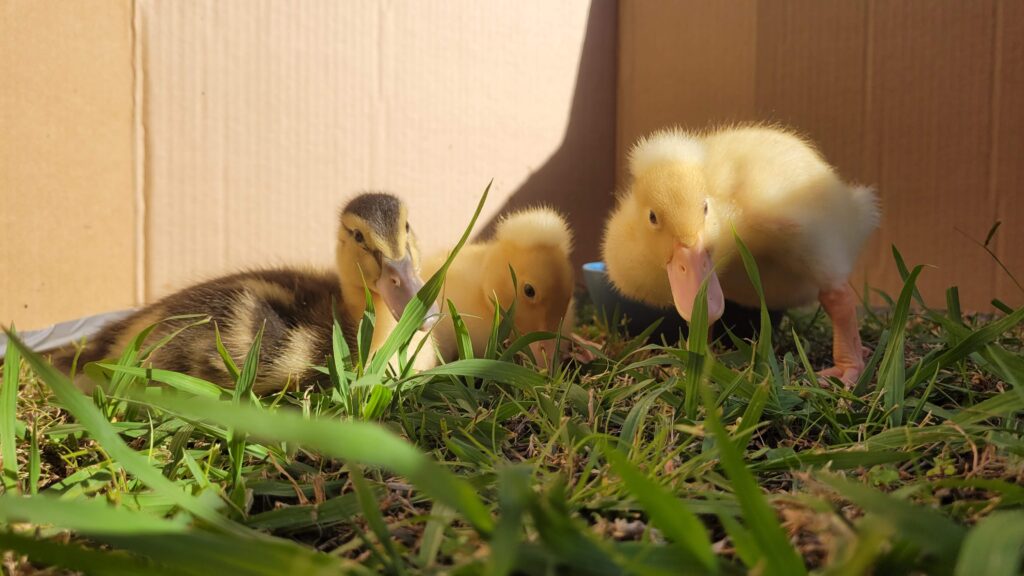
In the first two weeks, ducklings are newly hatched, fluffy, and highly dependent on external heat. Their eyes are open, and they begin eating and drinking almost immediately.
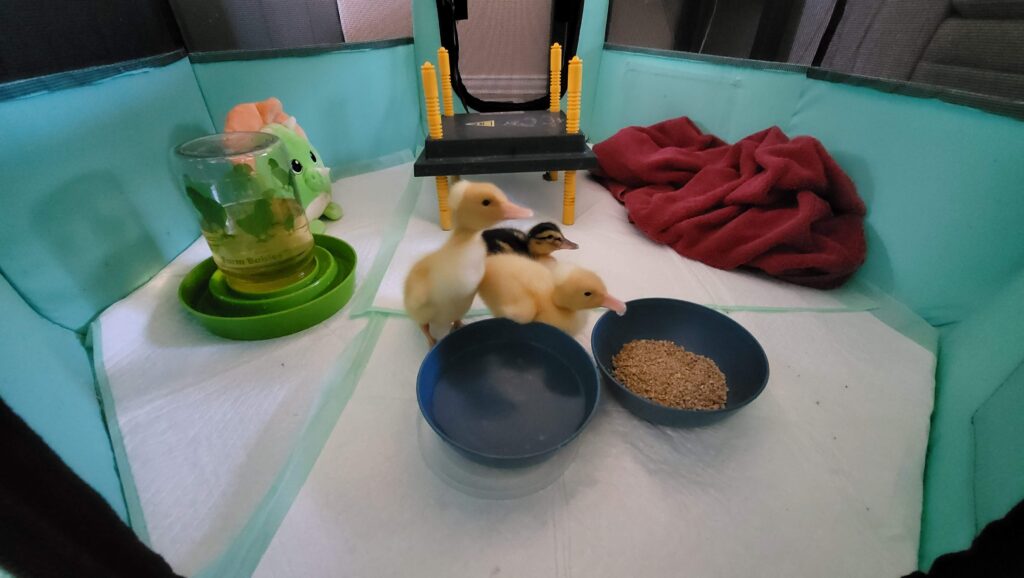
A traditional indoor brooder works well at this stage. This can be a stock tank, a large plastic tote, or an enclosed playpen with solid sides. Bedding should be soft and absorbent, and flooring should provide good traction to protect developing legs. Water containers must be shallow enough to prevent chilling and drowning, but deep enough for bill dipping.
Feeding should be a duckling starter or unmedicated chick starter feed with constant access to clean water. Cleaning is frequent but manageable, and space requirements are still modest.

Week Three: Expanding the Brooder
By week three, feather growth becomes more noticeable around the wings and tail. Legs strengthen, activity increases, and ducklings begin short runs and supervised swimming.
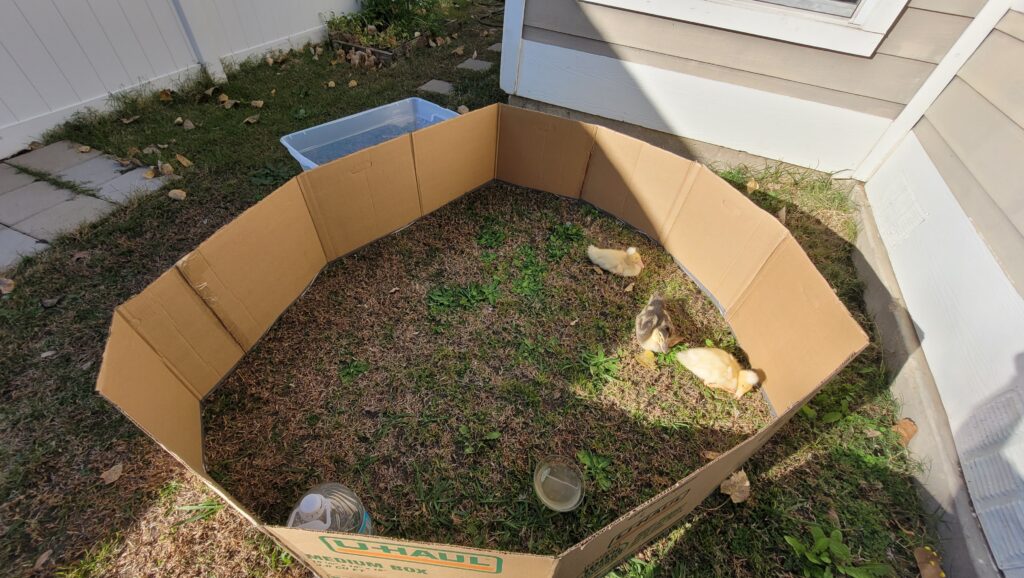
This is often the point where the original brooder starts to feel cramped. Expanding the setup now prevents problems later. Many duck parents increase floor space, deepen bedding, or transition to a larger enclosure such as a reinforced playpen.
This is also when moisture management becomes more important. Bedding that worked well earlier may now need more frequent refreshing.
Brooder Outgrown Too Fast: If the brooder smells by midday, it is too small or too wet. Scale space and bedding before increasing cleaning frequency.
Weeks Four to Five: The Teenage Phase
Between weeks four and five, ducklings enter the teenage phase. Growth accelerates, water use increases dramatically, and waste output rises. This is the stage where smell becomes noticeable if the setup is not scaled up.
Housing should now prioritize space and absorbency. Many duck keepers move to a larger indoor pen, a protected garage area, or a semi-outdoor sheltered space, depending on the weather. Deeper bedding and a defined dry zone around waterers are essential.

Diet remains high in protein, with increasing amounts of greens. Small amounts of grains can be introduced, but duckling starter should remain the foundation.
Week Six: A Flexible Transition Setup
By week six, most ducklings are nearly fully feathered. They are confident swimmers, active foragers, and far more resilient than younger birds.
Depending on spring weather, some ducklings are ready for daytime outdoor access at this stage. Others benefit from a flexible setup that allows outdoor time during warm days while still sleeping indoors at night. This intermediate phase is especially useful during unpredictable temperature swings.
Teenage Duckling Reality Check: The mess peaks before it gets better. This phase is normal and temporary.
Weeks Seven to Eight Moving Toward the Coop
By weeks seven and eight, ducklings are fully feathered and close to adult size. Social dynamics are established, and they are capable of regulating body temperature in mild conditions.
At this stage, most ducklings are ready for full-time outdoor living if the weather allows. Housing focus shifts away from heat and toward ventilation, dryness, and predator protection.
Age Versus Weather
Age alone does not determine readiness for outdoor living. Feathering and weather matter just as much. A well-feathered four or five-week-old duckling in mild spring conditions may cope better than an older bird facing cold nights.
Always assess feather coverage alongside environmental conditions.
Watch the Ducks, Not the Calendar: Feathering and behavior matter more than age when deciding on outdoor readiness.
The Hardening Off Process
Even when ducklings are nearly ready for the coop, gradual exposure reduces stress. Bringing them outside during the warmest part of the day allows them to adjust to wind, sunlight, and natural temperature changes.
Start with short outings and increase duration over several days. This process makes the first overnight outside far smoother.
Temperature Rule of Thumb
Nighttime temperatures are one of the clearest indicators of readiness. If nights are consistently between ten and thirteen degrees Celsius, or about fifty to fifty-five degrees Fahrenheit, and ducklings are fully feathered, most are ready to live outdoors without supplemental heat.
Dry bedding, wind protection, and proper ventilation remain essential.
Duckling Stage and Temperature Readiness Overview
| Duckling stage | Typical age | Feathering status | Housing setup | Nighttime temperature guidance |
|---|---|---|---|---|
| Early brooder stage | Weeks one to two | Down only | Small indoor brooder with heat | Requires supplemental heat |
| Expanding brooder | Week three | Down with early feathers | Larger indoor brooder | Not ready for outdoor nights |
| Teenage phase | Weeks four to five | Mixed feathering | Large indoor or protected setup | Daytime outdoor only if warm |
| Transition phase | Week six | Mostly feathered | Flexible indoor outdoor setup | Above ten degrees Celsius or fifty degrees Fahrenheit |
| Fully feathered young ducks | Weeks seven to eight | Fully feathered | Ten to thirteen degrees Celsius or fifty to fifty-five degrees Fahrenheit consistently | Ten to thirteen degrees Celsius or fifty to fifty five degrees Fahrenheit consistently |
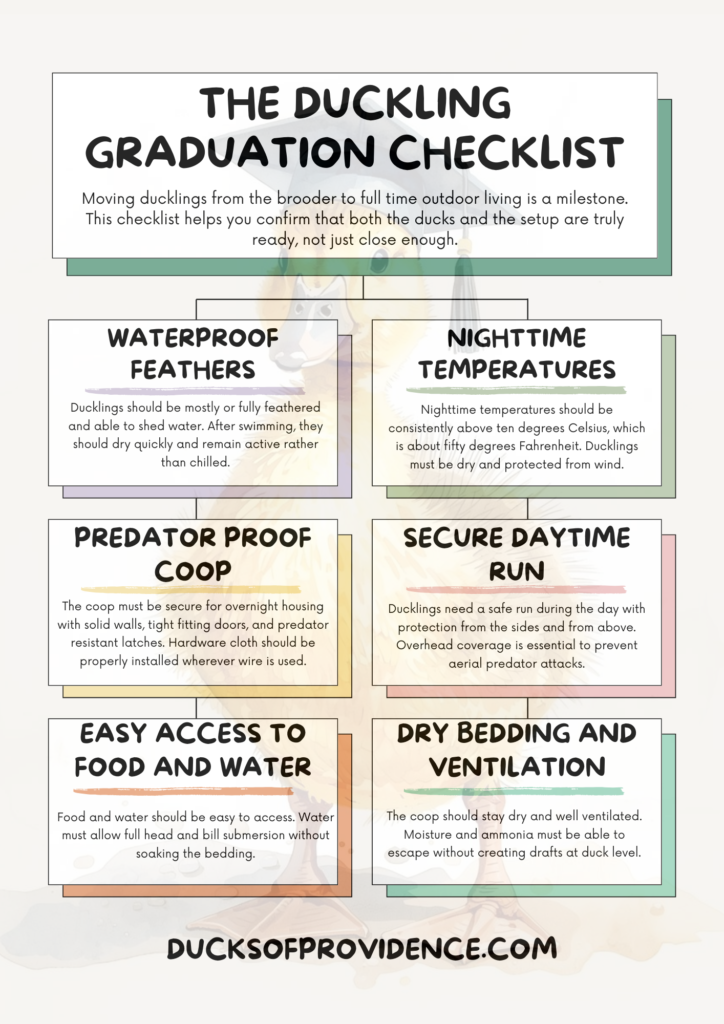
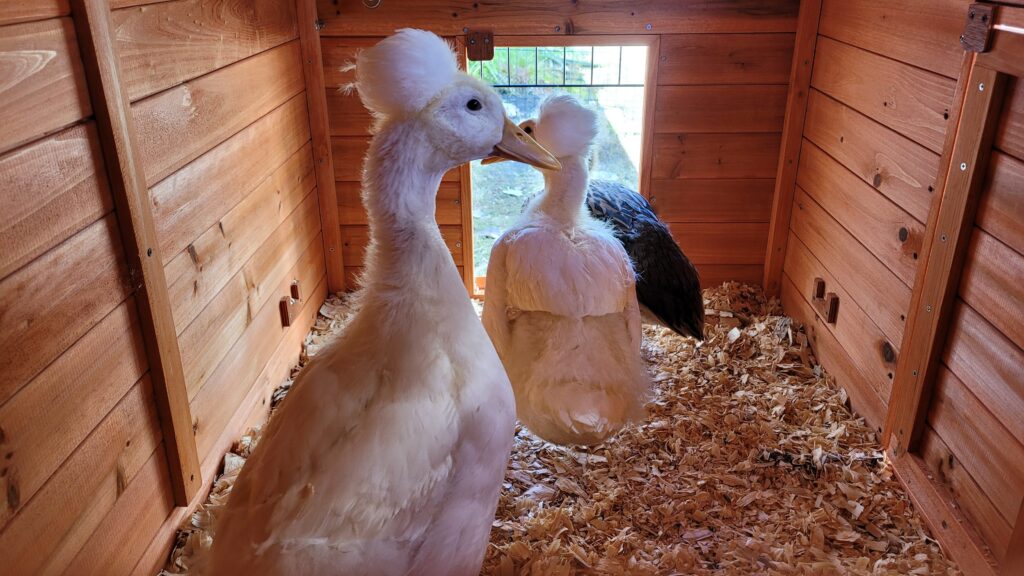
Preparing the Outdoor Coop for Young Ducks
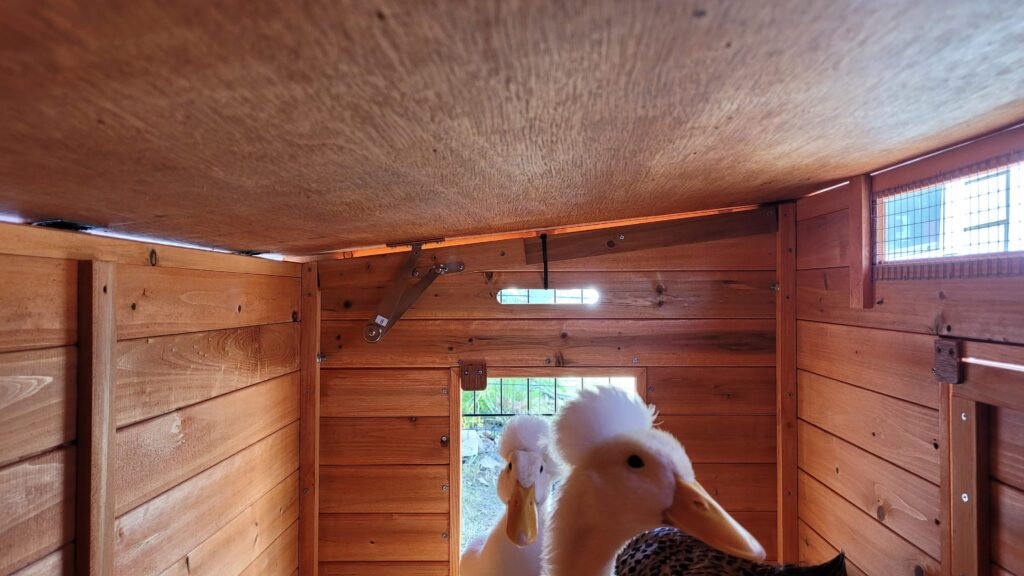
When ducklings are ready to move out full-time, the coop should be set up with young ducks in mind. Priorities include dry footing, good ventilation, and strong predator protection.
Low entry points, thick bedding, and draft-free walls matter more than nest boxes at this stage. Ventilation should be positioned high to remove moisture without chilling birds. Food and water should be easy to access while limiting splashing.
When housing evolves alongside growth and weather conditions, the brooder-to-coop transition becomes a smooth progression rather than a stressful leap.
Our Real Life Teenage Phase Setup
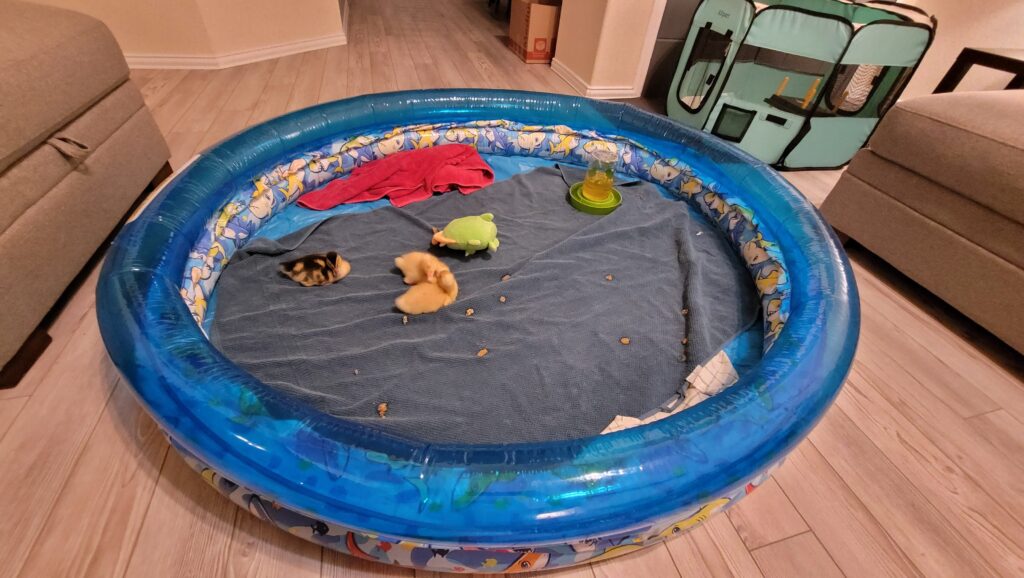
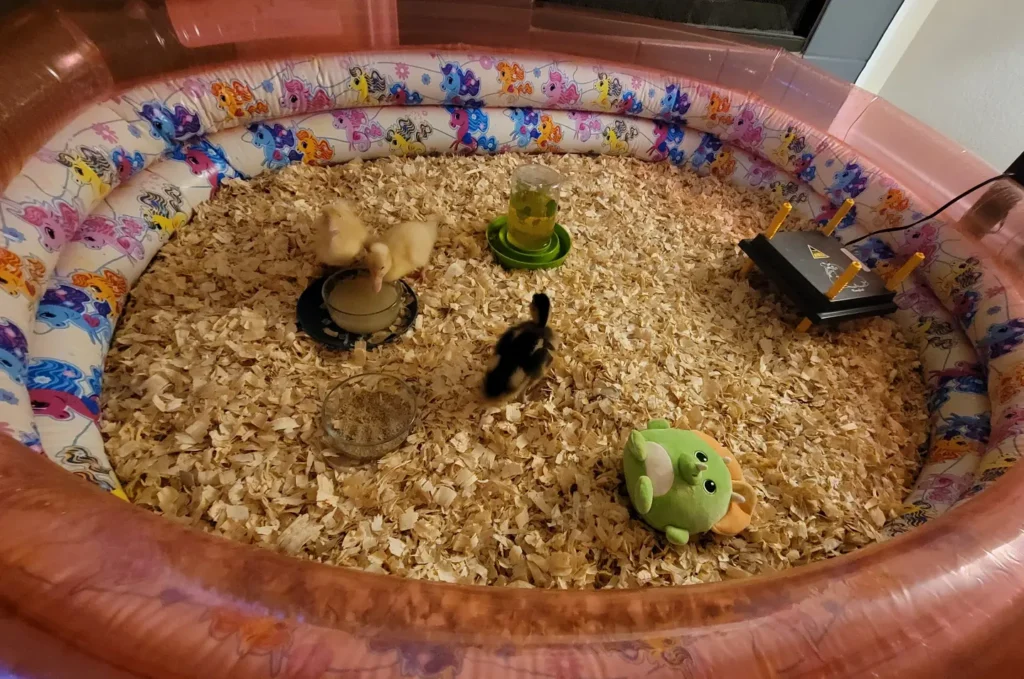
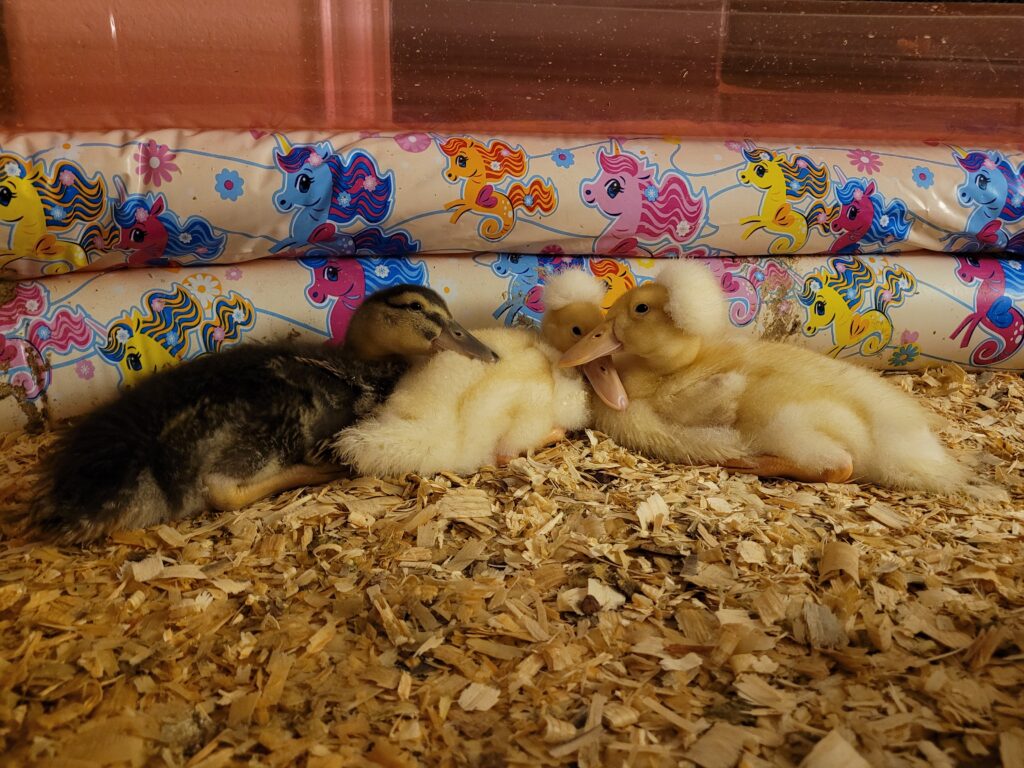
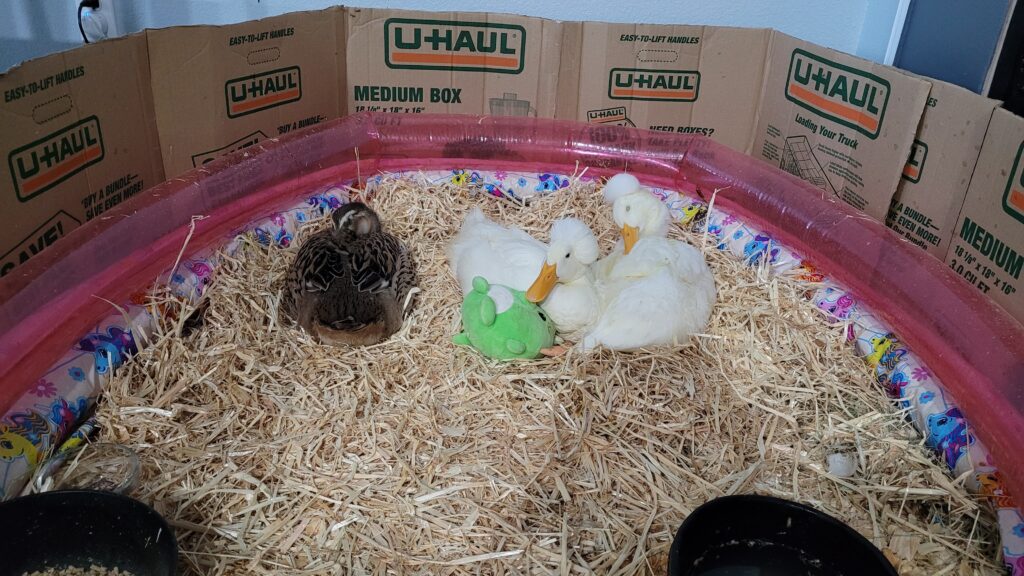
When our ducklings reached the teenage phase, we stopped forcing a traditional brooder to work and switched to setups that could handle their size and mess. For Emma, Hertha, and Schnatterinchen, we used a three-ring inflatable kiddie pool set up directly in our living room. The pool was filled with a thick layer of large flake pine shavings, which provided plenty of space and stayed far drier than a small enclosed brooder.
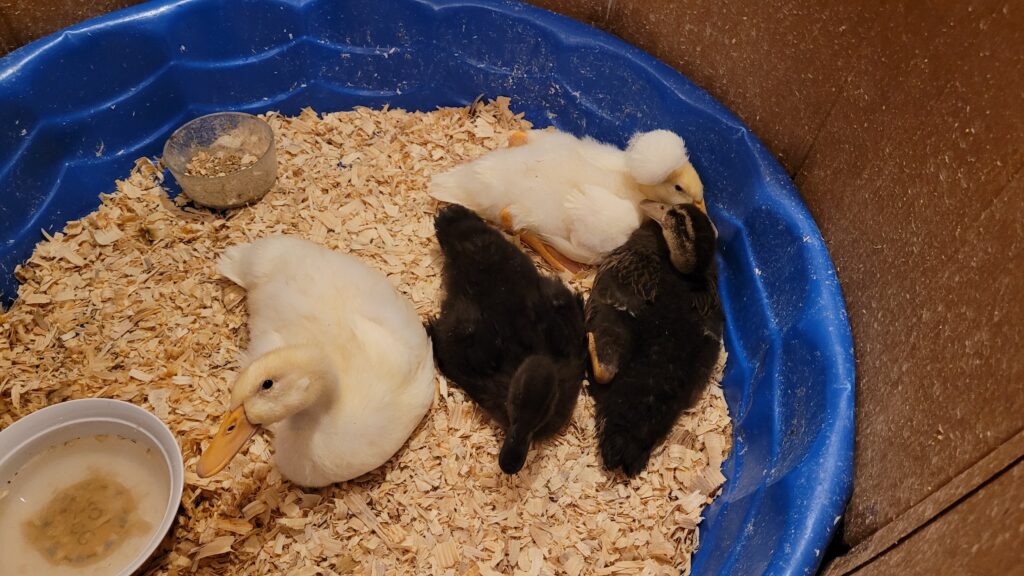
When we were fostering Ronja and her three brothers, their needs were similar but the setup was different. They lived in a sturdy plastic kiddie pool, also filled deeply with pine shavings. The rigid sides held up well to active ducklings, and the extra room helped keep splashing and odor under control.
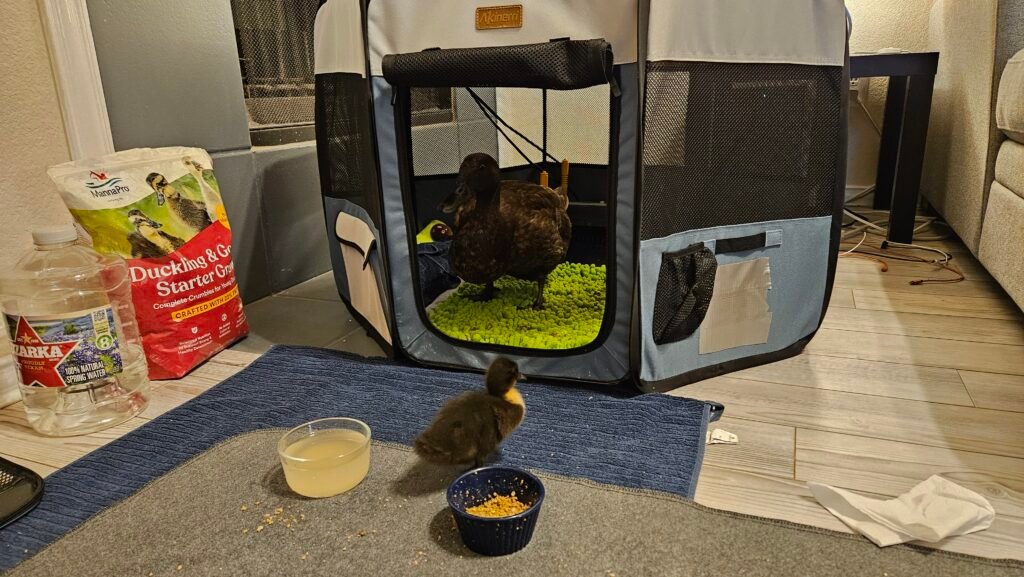
For single ducklings, such as Muffin and Krümel, we used a different approach. They were moved from a small playpen into an extra large playpen rather than a pool. This allowed them to walk, stretch, and interact closely with us while still giving enough space to manage bedding and moisture.
None of these setups were perfect or particularly attractive, but they worked. During the teenage phase, function matters far more than looks. Space, absorbency, and keeping ducklings dry are what make this stage manageable.
The Battle of the Bedding
Bedding is one of the biggest make-or-break factors during the brooder-to-coop transition. Ducks are wet birds by nature, and as ducklings grow, moisture output increases faster than most people expect. Choosing the right bedding at the right stage can dramatically reduce smell, labor, and stress.
Early Phases: Simple and Disposable
In the very early stages, disposable puppy pads and old towels work surprisingly well. Ducklings are small, water use is limited, and cleanups are frequent anyway. These materials make it easy to monitor poop, keep footing secure, and swap everything out quickly.
This phase is short-lived, but it is effective. Once ducklings become more active and start splashing more, disposable options stop being practical.
Pine Shavings: The Reliable Workhorse
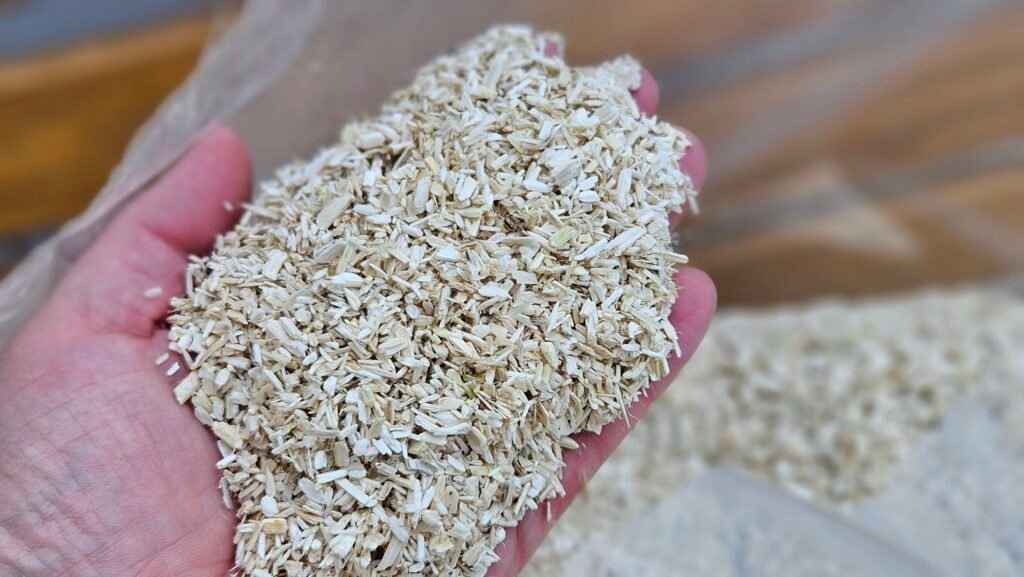
As ducklings grow, pine shavings become one of the most reliable bedding choices. Large flake pine shavings absorb moisture well, stay relatively dry, and are easy to spot clean.
Laying pine shavings thick has two benefits. It improves absorbency and provides warmth from below, which is especially helpful during spring when indoor temperatures fluctuate. Pine shavings also outperform straw or hay when it comes to moisture control, which is critical for ducks.
As our ducklings grew, we sometimes added a small amount of straw to create a cozy sleeping area. The key was placement. Straw stayed far away from water sources and was used only as a dry nesting or resting spot, never as the primary bedding.
Straw Is Not Floor Bedding: Use straw only in dry sleeping areas. Keep it far away from water.
Hemp Bedding: A High-Performance Option
Hemp bedding is another excellent choice, especially during the teenage phase when moisture and smell peak. It absorbs extremely well, breaks down quickly, and stays drier than many traditional options.
We have had good experiences with hemp bedding like the one from Grubbly Farms. It costs more upfront, but many duck keepers find that the reduced smell and longer bedding life make it worthwhile, particularly in indoor setups.
Bedding Options That Did Not Work for Us
We also experimented with compressed horse pellets. While some people like them, they were not a good fit for our ducklings. The pellets felt too hard initially, especially for younger birds, and required more moisture to break down properly. For ducks that already create plenty of moisture, this added complexity without much benefit.
Water Is the Real Culprit: Most bedding failures start at the water bowl. Fix water placement before switching bedding types.
Creating a True Dry Zone
Even the best bedding will fail if water is allowed to spread freely. Managing where water goes is just as important as choosing what goes on the floor. The goal is not to restrict water access, but to contain the mess that comes with it.
Water can be offered in standard bowls, in buckets, or in tubs with holes cut into the side. Both options work well as long as ducklings can fully submerge their heads and bills. This is essential for keeping the nostrils and eyes clean.
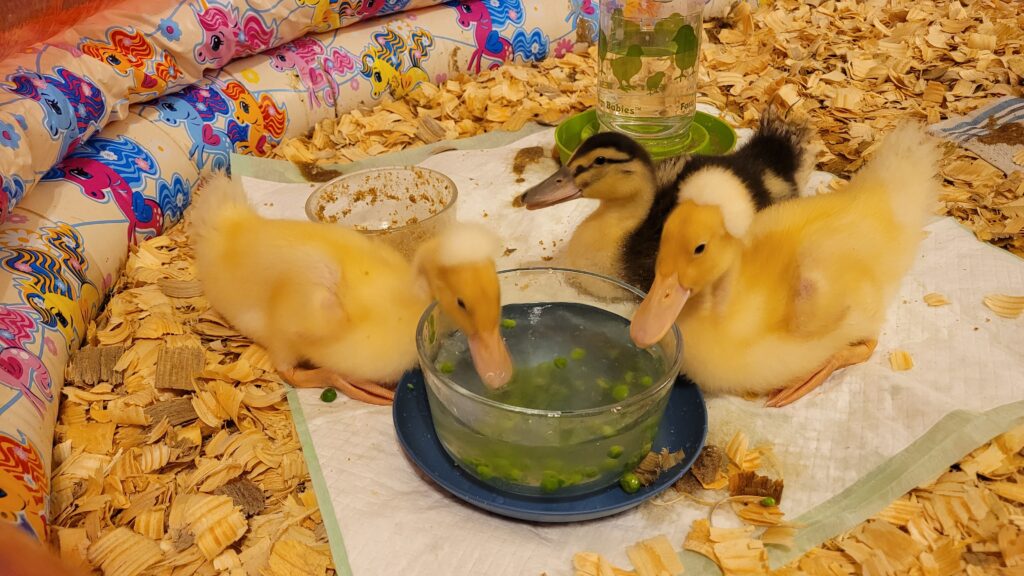
To protect the bedding, water containers should always sit inside a secondary catch system. This can be a shallow dish, a boot tray, or a plastic shoe tray that collects splashed water before it reaches the bedding. Another effective option is placing the water bowl on top of hardware cloth set over a shallow tray. Spilled water drains away while ducklings still have full access from above.
These simple setups dramatically reduce wet bedding and odor. When water management and bedding work together, the teenage duckling phase becomes far more manageable, even in indoor spaces.
Quick Overview Mess-Free Water Solutions
Keeping water accessible without soaking the bedding is one of the biggest quality of life upgrades during the duckling stage. These setups all allow proper drinking and rinsing while limiting splash damage.
Water bowl in a secondary container
Place a regular water bowl inside a shallow tub, shoe tray, or boot tray. Spilled water is caught before it reaches the bedding.
Bucket or tub with side holes
Use a bucket or plastic tub with holes cut into the side at head height. Ducklings can fully submerge their heads but cannot climb in and splash.
Elevated water station
Raise the water container slightly using a stable platform or bricks so bedding is tracked in less and splash stays localized.
Hardware cloth spill basin
Set the water bowl on hardware cloth placed over a shallow tray. Water drains away from the bowl while ducklings drink from above.
Dedicated wet zone
Keep water stations physically separated from sleeping and resting areas so any moisture stays contained.
No matter which option you choose, water must always be deep enough for full head and bill submersion. The goal is not less water, but better control over where that water ends up. More DIY ideas can be found at Metzer Farms blog.
Managing the Duck Funk
Smell is often the first warning sign that a setup is no longer keeping up with growing ducklings. During the teenage phase, increased waste and constant moisture can overwhelm even good bedding. Odor is not just unpleasant. It is an indicator that something in the system needs adjusting.
There are two common sources of smell at this stage. One is ammonia from droppings. The other is the sweet, sour odor that comes from bedding that stays soaking wet. Both matter, and they require slightly different solutions.
Ventilation Matters
Ammonia smell is sharp and irritating and is a clear sign of poor air exchange. Proper ventilation allows ammonia and moisture to escape before they build up to harmful levels.
High placed vents are far more effective than airflow at duck level. Warm, moist air and gases rise, so vents near the top of the space allow them to exit naturally. Floor level airflow often chills ducklings and does very little to improve air quality.
Good ventilation is just as important indoors as it is in a coop. Fresh air should move out of the space without blowing directly on the birds.
Wet Bedding Smell and Moisture Control
The sweet, unpleasant smell many duck keepers notice is usually not ammonia. It is the scent of bedding that is staying wet and beginning to ferment. This often happens around waterers or in areas where absorbency is no longer sufficient.
When you smell this, ventilation alone will not fix it. The solution is better moisture control. That may mean switching to a more absorbent bedding, adding depth, improving the dry zone around waterers, or removing and replacing wet sections more aggressively.
Ignoring this smell allows bacteria and mold to develop, even if the space does not smell strongly of ammonia yet.
Ventilation Beats Air Fresheners: If you can smell ammonia, airflow is insufficient. Never mask odor with sprays.
Odor Neutralizing Minerals
Coop safe minerals can be a helpful support during high waste periods, especially in the teenage duckling phase. Products like Sweet PDZ, zeolite, or the coop conditioner from Grubbly Farms work by binding ammonia rather than masking odor. This makes them useful when droppings increase faster than bedding can keep up.
These products are most effective when used sparingly under bedding or in areas that tend to stay damp. They should not be applied directly where ducklings rest or eat. Odor-neutralizing minerals are not a replacement for good bedding, proper ventilation, or moisture control, but they can help stabilize odor while you fine-tune the setup.
Used correctly, they add an extra layer of protection without introducing fragrances or chemicals into the ducklings environment.

Spot Cleaning Versus Full Strip
During the teenage duckling phase, frequent full clean-outs often create unnecessary work. A more effective routine is daily spot cleaning focused on wet or heavily soiled areas, especially around water sources.
Remove damp bedding as soon as you notice it and refresh with dry material. Once moisture is controlled, odor drops quickly. Full strip cleanings can then be spaced out without allowing smell to build up.
When ventilation, bedding, and water management are all working together, even the strongest duck funk becomes manageable instead of overwhelming.
Safety Check: The Spring Predator Surge
Spring is peak predator season, and it often coincides exactly with the time ducklings begin spending more time outdoors. Many predators are feeding young of their own, which makes them more persistent, more creative, and more willing to appear during daylight hours. Animals that were barely active around your coop in winter may suddenly start testing boundaries.
This is the moment to do a full safety check before ducklings move outside full-time.
Tightening the Perimeter
Start by walking the entire coop and run as if you were a predator. Look for gaps along the ground, loose staples, bent wire, or places where digging would be easy. Pay special attention to corners, doors, and transitions between panels. These are common failure points.
Winter setups that worked fine during colder months may not hold up under spring pressure. Soil softens, wood shifts, and fasteners loosen. Reinforcing now is far easier than reacting after a close call.
Hardware Cloth Over Everything Else
Hardware cloth is one of the most important safety upgrades you can make, especially for young ducks. Chicken wire is designed to keep poultry contained. It is not designed to stop predators. A raccoon can tear through chicken wire quickly, and smaller predators can squeeze through it with ease.
Hardware cloth provides real protection when it is installed correctly. It should be securely fastened with staples or screws and washers, not loosely attached. Seams should overlap, and edges should be flush with framing to prevent prying.
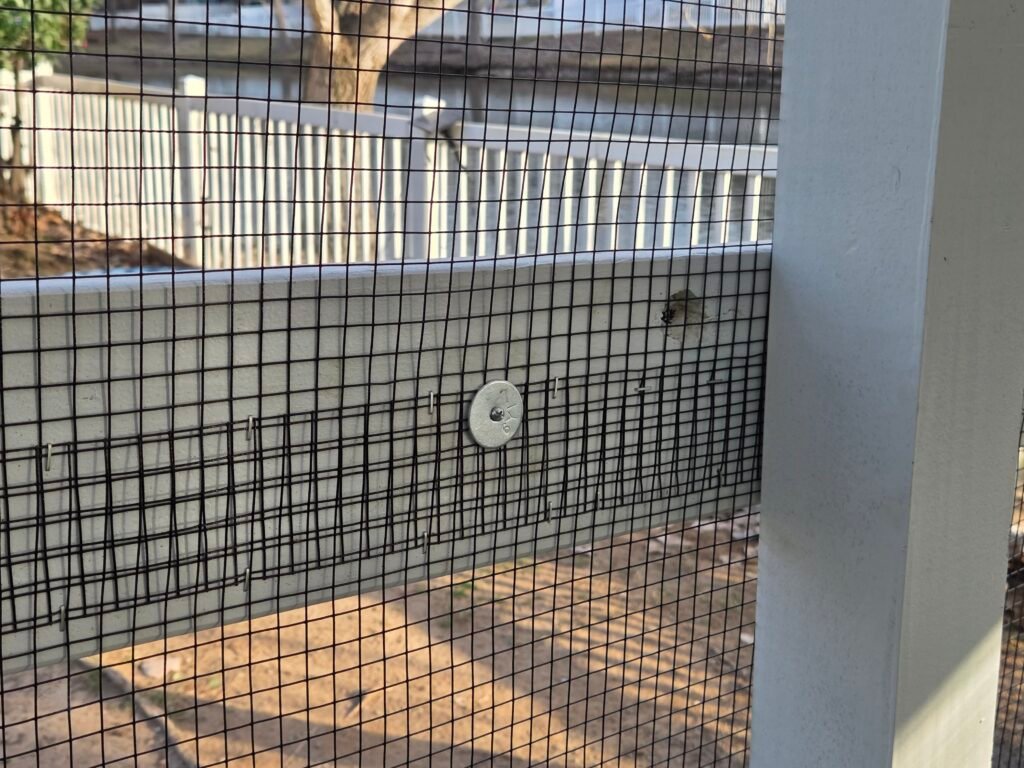
Along the ground, hardware cloth should either be buried or laid outward as a skirt to prevent digging. Ducklings are especially vulnerable to predators that attack from below, and this step is often overlooked.
Secure Nights and Protected Days
Ducklings need two levels of protection. At night, they should be locked into a fully secure coop with solid walls and predator-resistant doors. During the day, they need a secure run that prevents access from the sides and from above.
Overhead protection is especially important. Hawks, owls, and other aerial predators are active during daylight hours and can strike quickly. A covered run using hardware cloth or strong netting provides essential protection and allows ducklings to spend time outdoors safely.
Daytime Safe Does Not Mean Night Safe: A run that works during the day is not automatically secure for overnight housing.
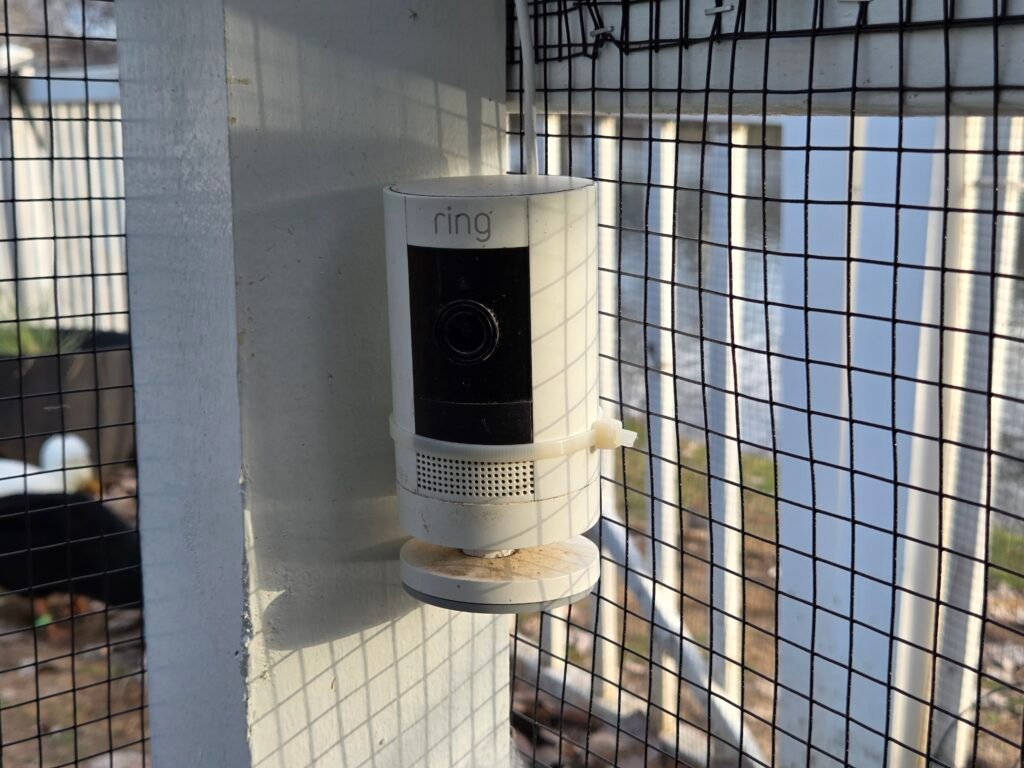
Cameras and Motion-Activated Lights
Adding cameras around the coop and run can provide valuable insight into predator activity. Even inexpensive security cameras help identify what is visiting your setup and when. This information allows you to reinforce weak areas before a problem occurs.
Motion-activated lights are another effective deterrent. Sudden light can discourage many nocturnal predators and draws attention to unusual activity. While lights alone are not enough, they add an extra layer of security when combined with good fencing and hardware cloth.
Doors, Latches, and Night Security
Predators are surprisingly skilled at opening simple latches. Spring is a good time to reassess door hardware. Use predator-resistant latches that require multiple actions to open, and make sure doors close fully without gaps.
Frames should not flex when pressure is applied. Even small openings can give predators enough leverage to cause serious harm.
Why This Matters More for Ducklings
Ducklings and young ducks are slower, smaller, and less aware of danger than adults. They are also quieter, which can make an attack harder to detect. Strong perimeter protection, overhead coverage, and nighttime security give them time to grow into confident and alert birds.
A thorough spring safety check turns outdoor time into a positive milestone rather than a risk. When predator protection is solid, the brooder to coop transition becomes safer and far less stressful for everyone involved.
Final Thoughts: Bringing It All Together
The brooder to coop transition is one of the most intense phases of raising ducklings. It is messy, loud, and often overwhelming, especially during the teenage stage when growth outpaces your setup almost overnight. That does not mean you are doing anything wrong. It means your ducklings are developing exactly as they should.
Success during this phase is less about perfection and more about systems. When bedding can handle moisture, water is contained, air stays fresh, and safety is planned ahead, everything becomes easier. Small adjustments made at the right time prevent bigger problems later.
Spring is a season of change for both ducks and duck keepers. Treating this transition as a series of thoughtful upgrades rather than a single leap makes the process calmer and safer for everyone involved. With the right preparation, graduation from the brooder becomes a confident step forward and the beginning of life as young outdoor ducks.
Further Reading & Resources
- Hatching Ducklings Like a Pro: Step-by-Step Incubation & Brooder Guide!
- How to Raise Ducklings: A Beginner’s Guide
- Keeping Ducks: A Beginner’s Guide
- What is the Best Bedding for Ducks?
- How to keep your ducks safe from predators?
- How Old Is My Duck in Human Years? A Guide to Duck Life Stages
Master the basics of evidence-based care. Explore the full Beginner’s Handbook to build a strong foundation for your flock.